


I have this wireless keyboard. The keys feel soft, and its usb receiver is broken.
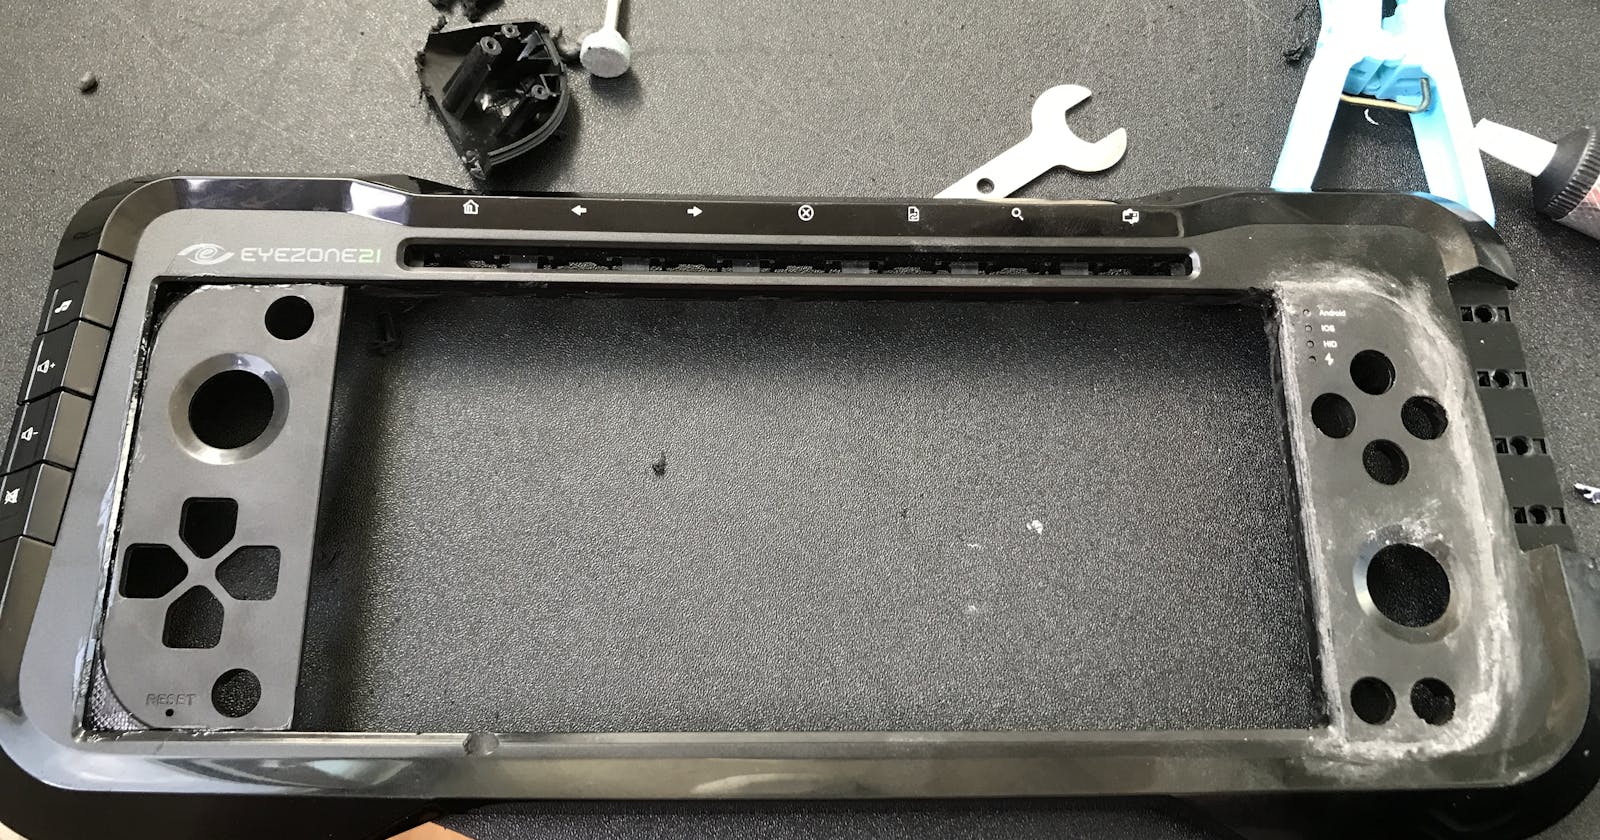
Its keyboard sits in a recess that might fit a screen. It also has shoulder buttons, and it's not too bad a shape.
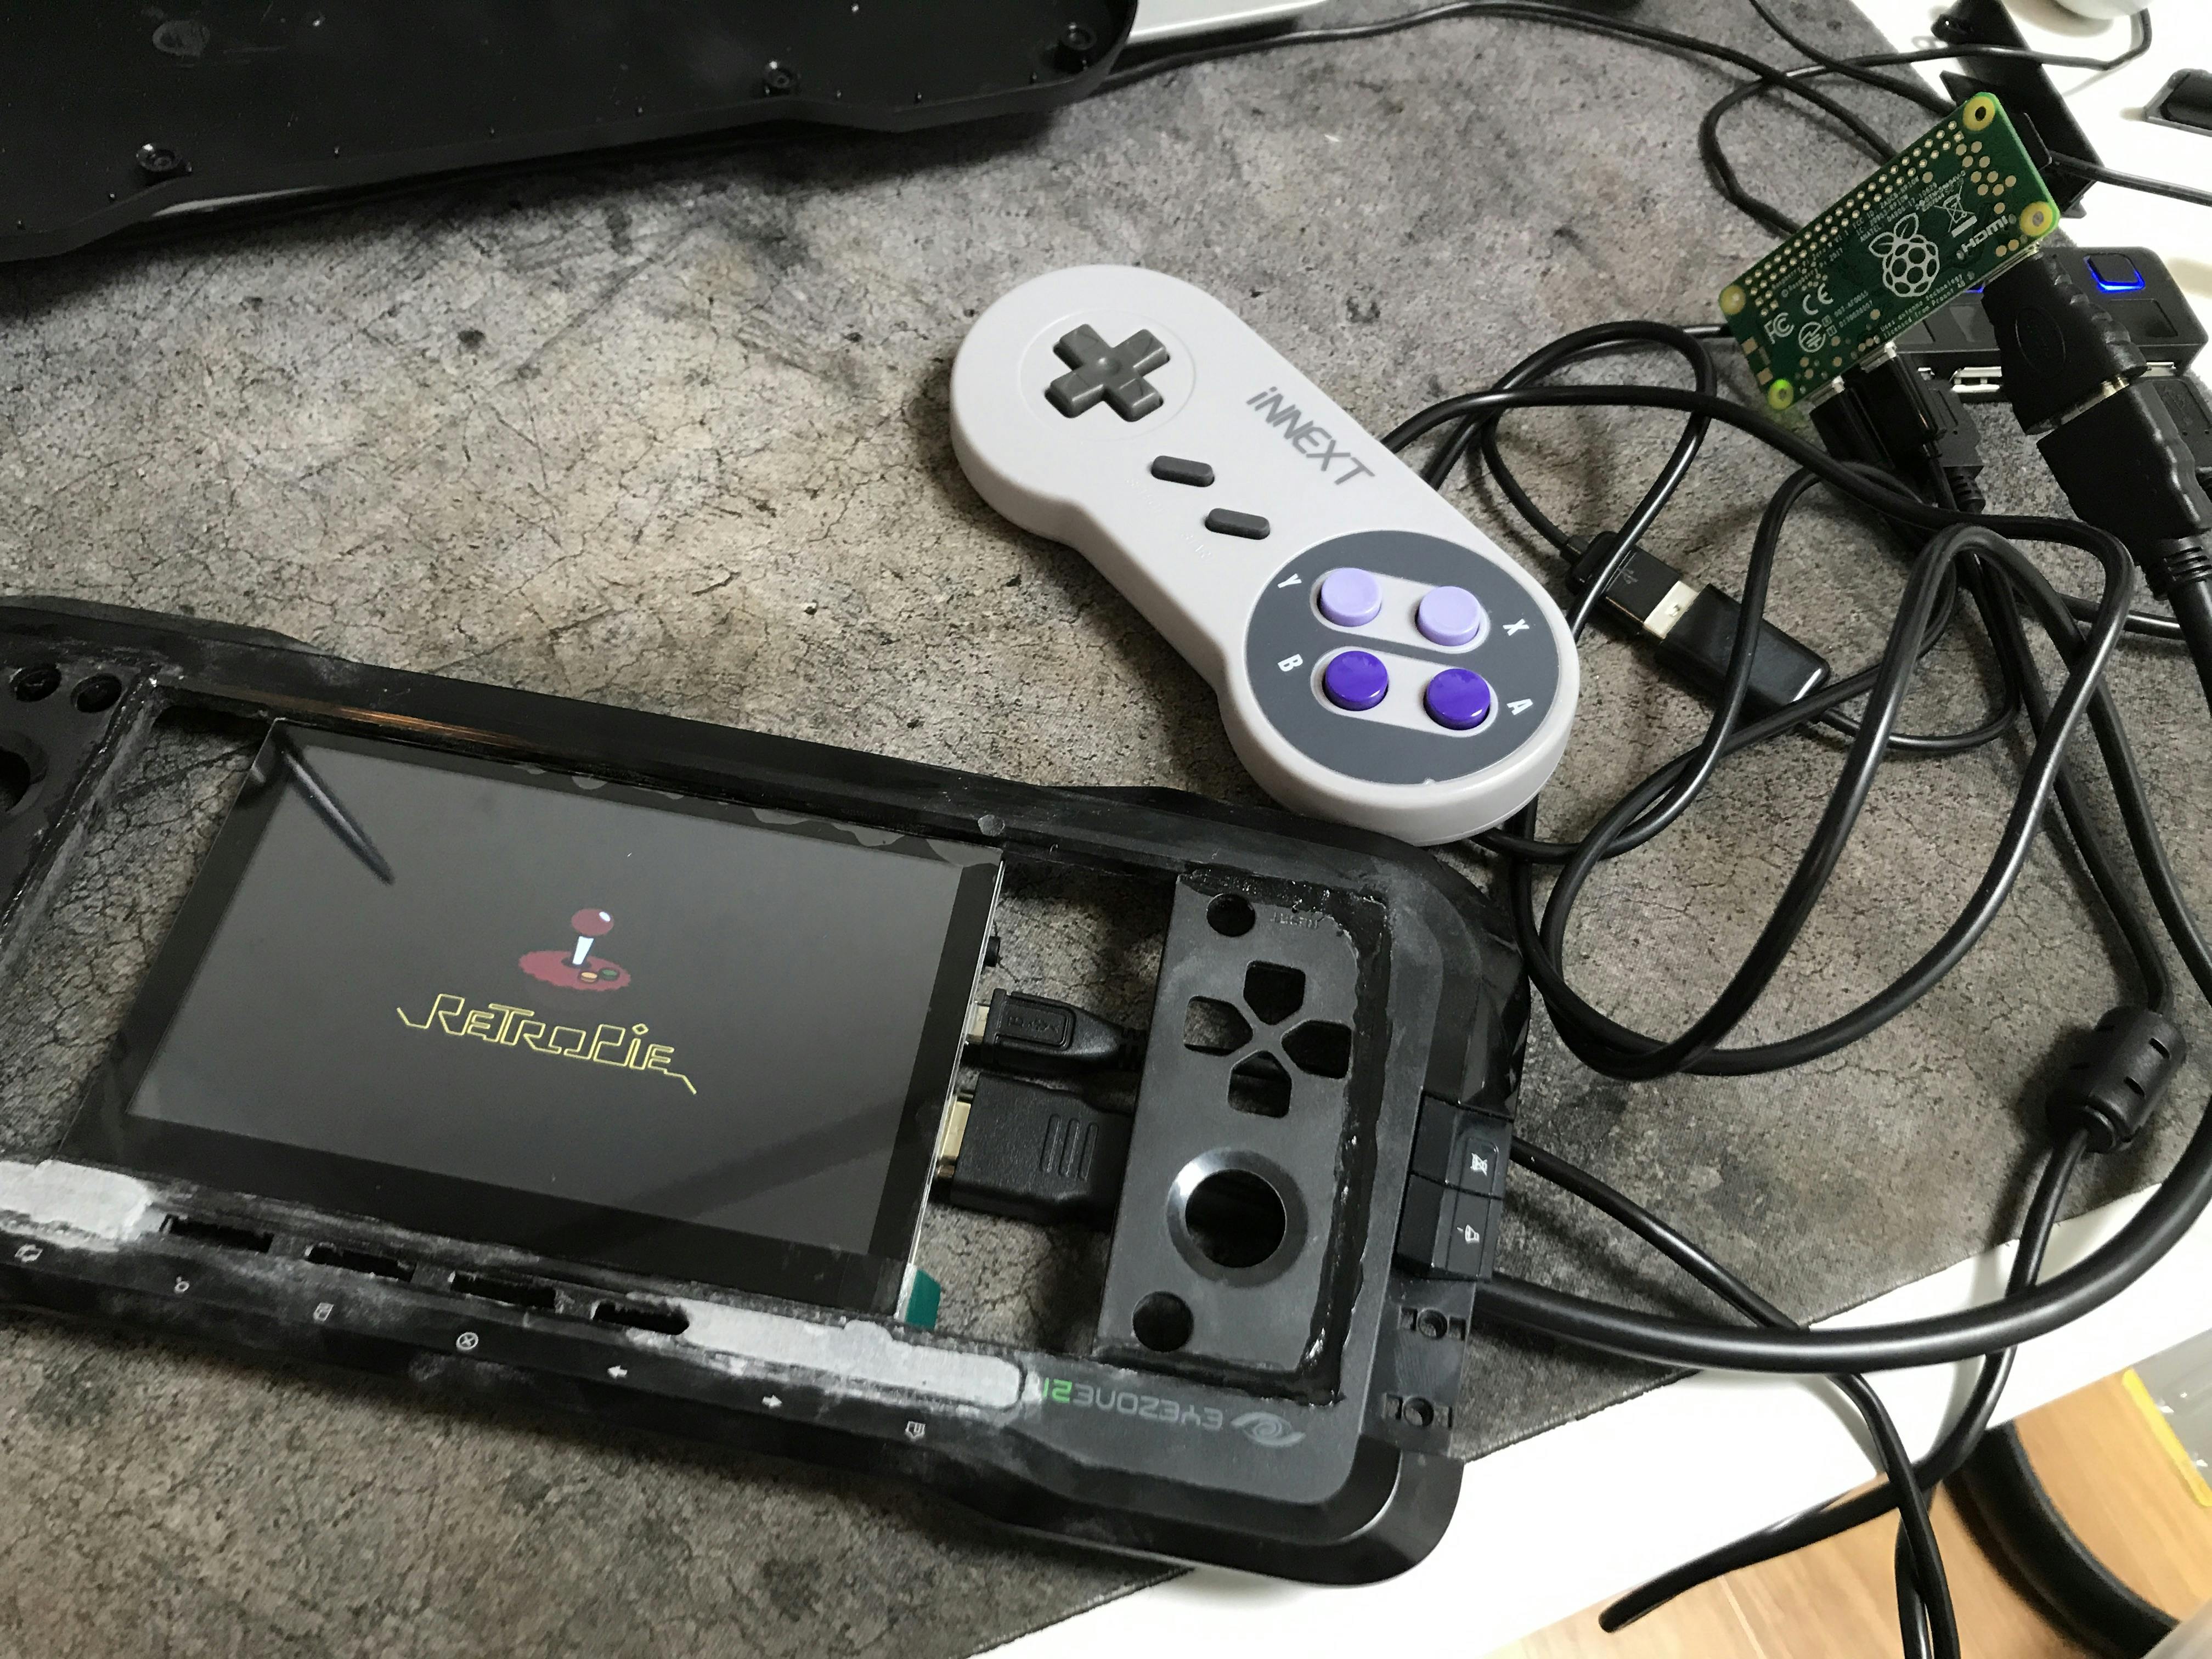
I bet I can cut out the keyboard and fit a screen and a Raspberry Pi in there, and use it as a sort of retro-games Nintendo Switch.
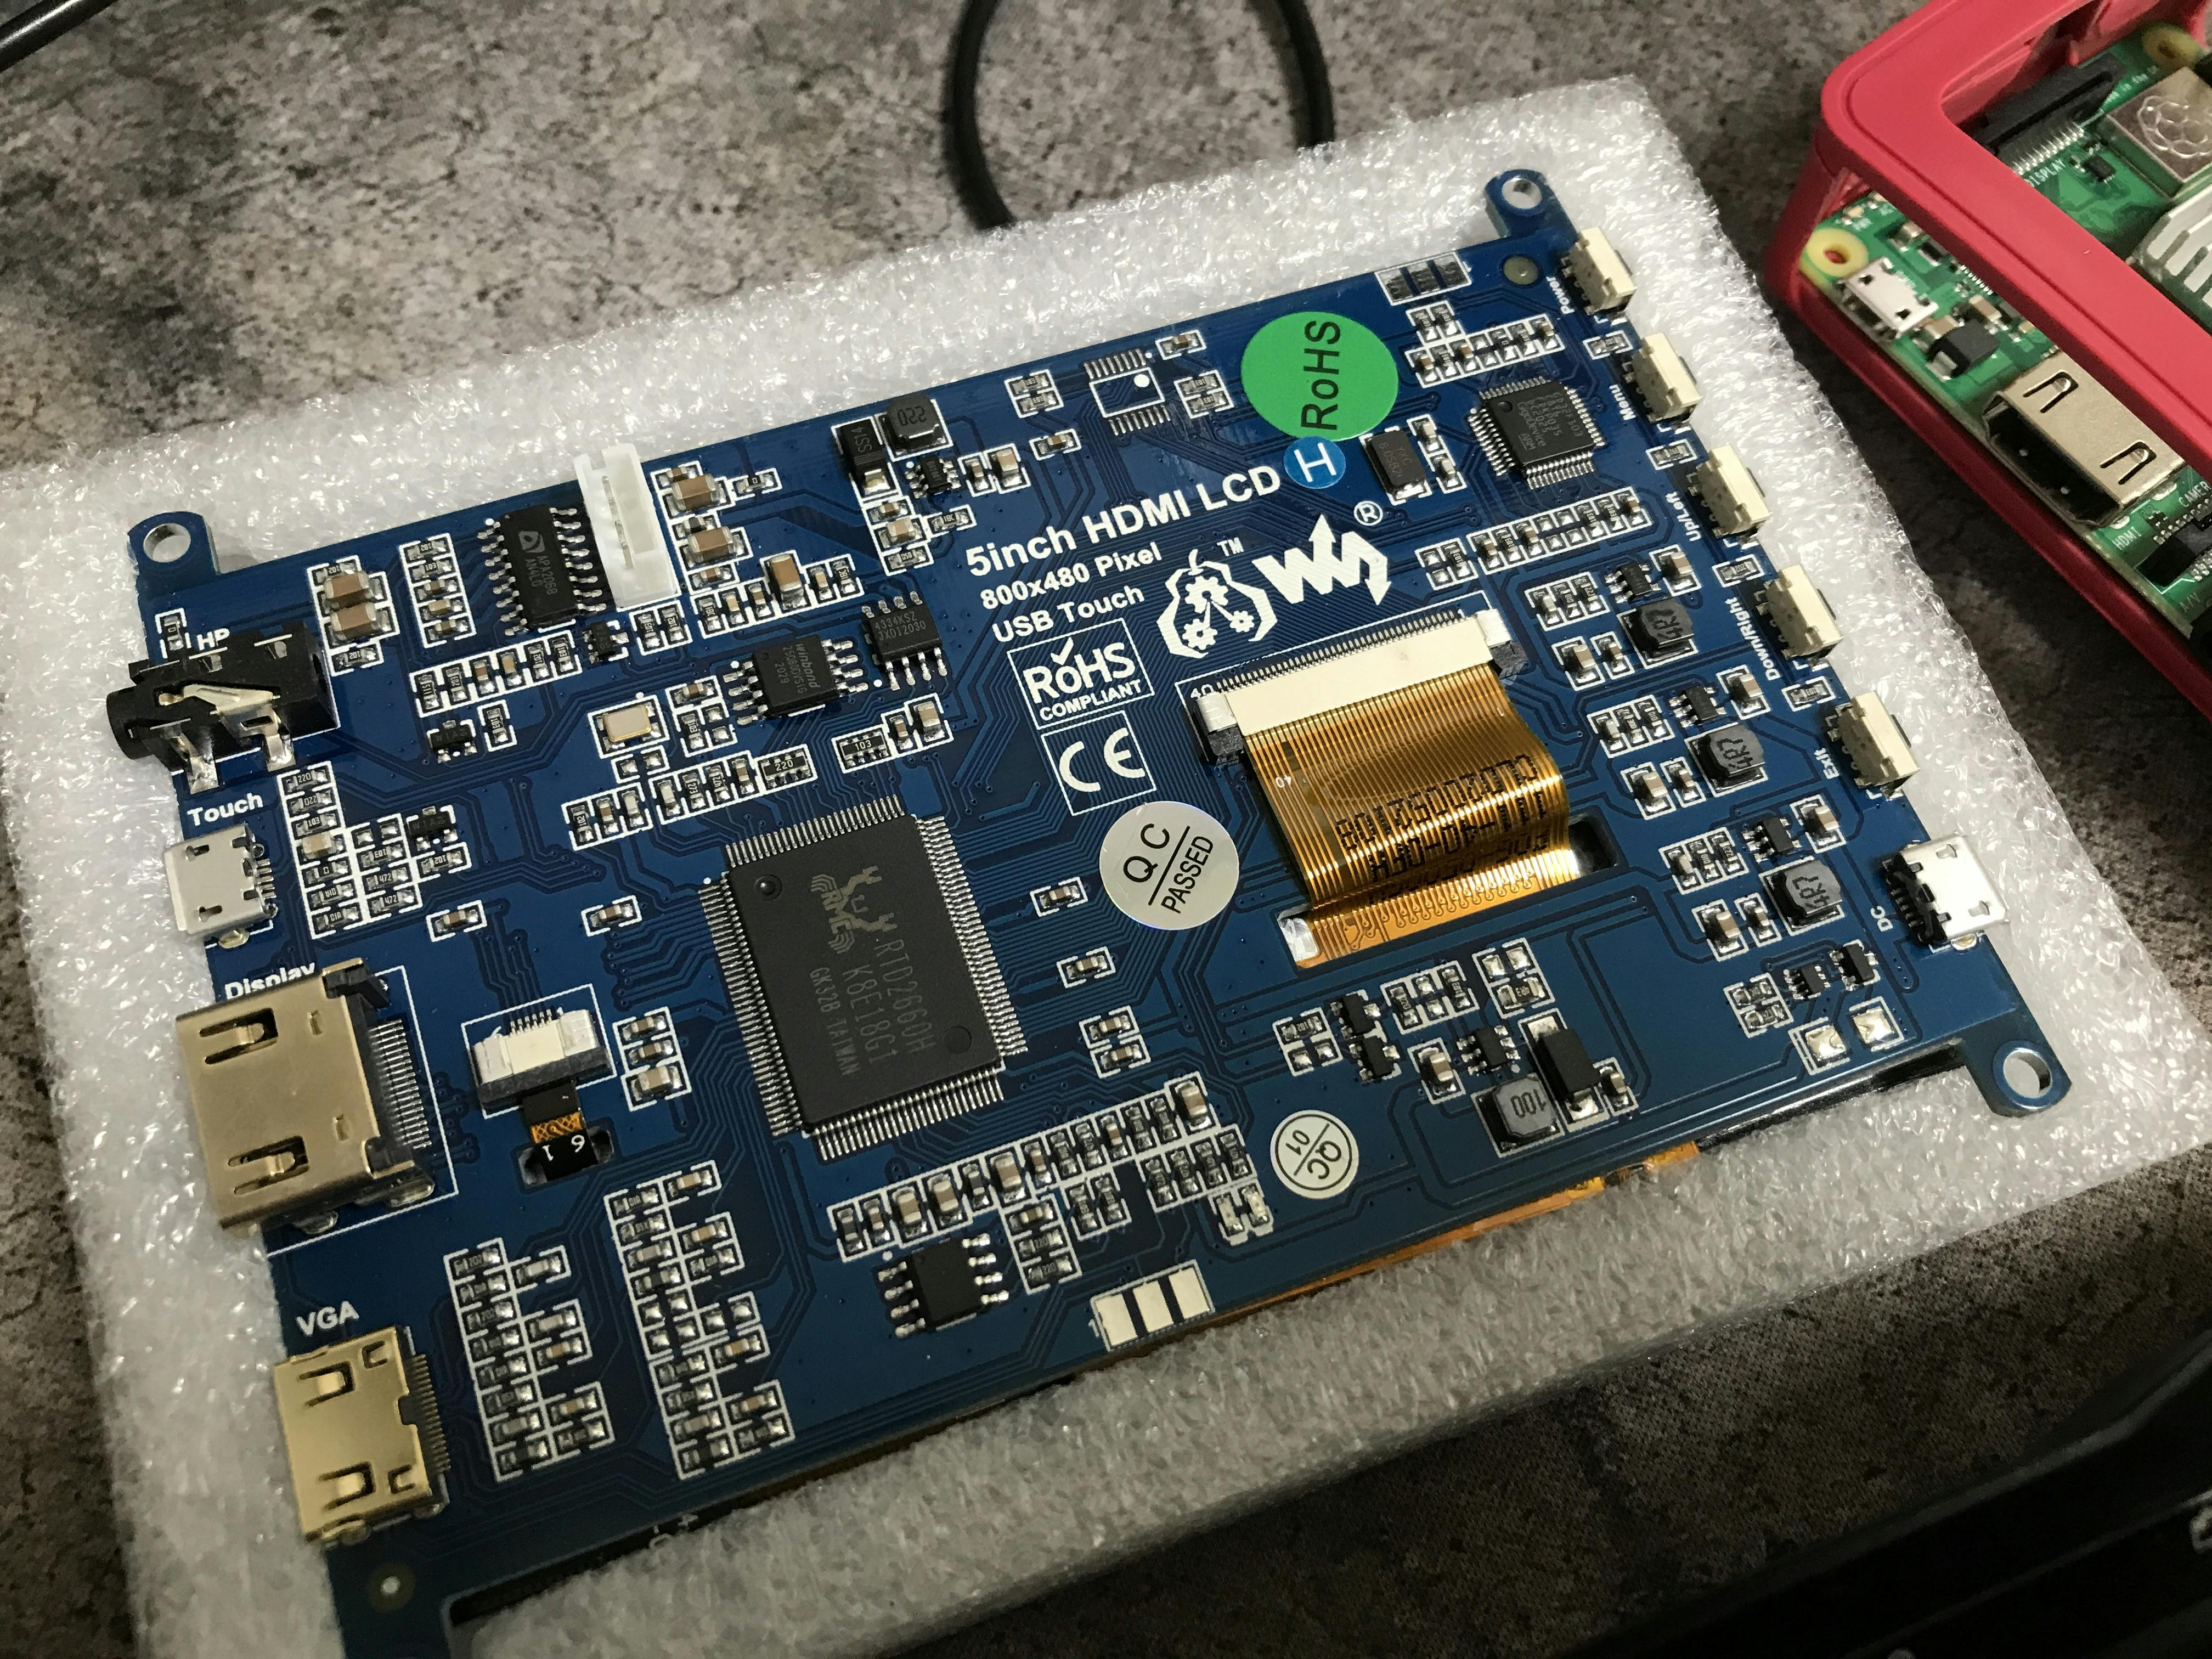
With that thought in mind, I bought a screen and a rotary cutting tool, and began the task.
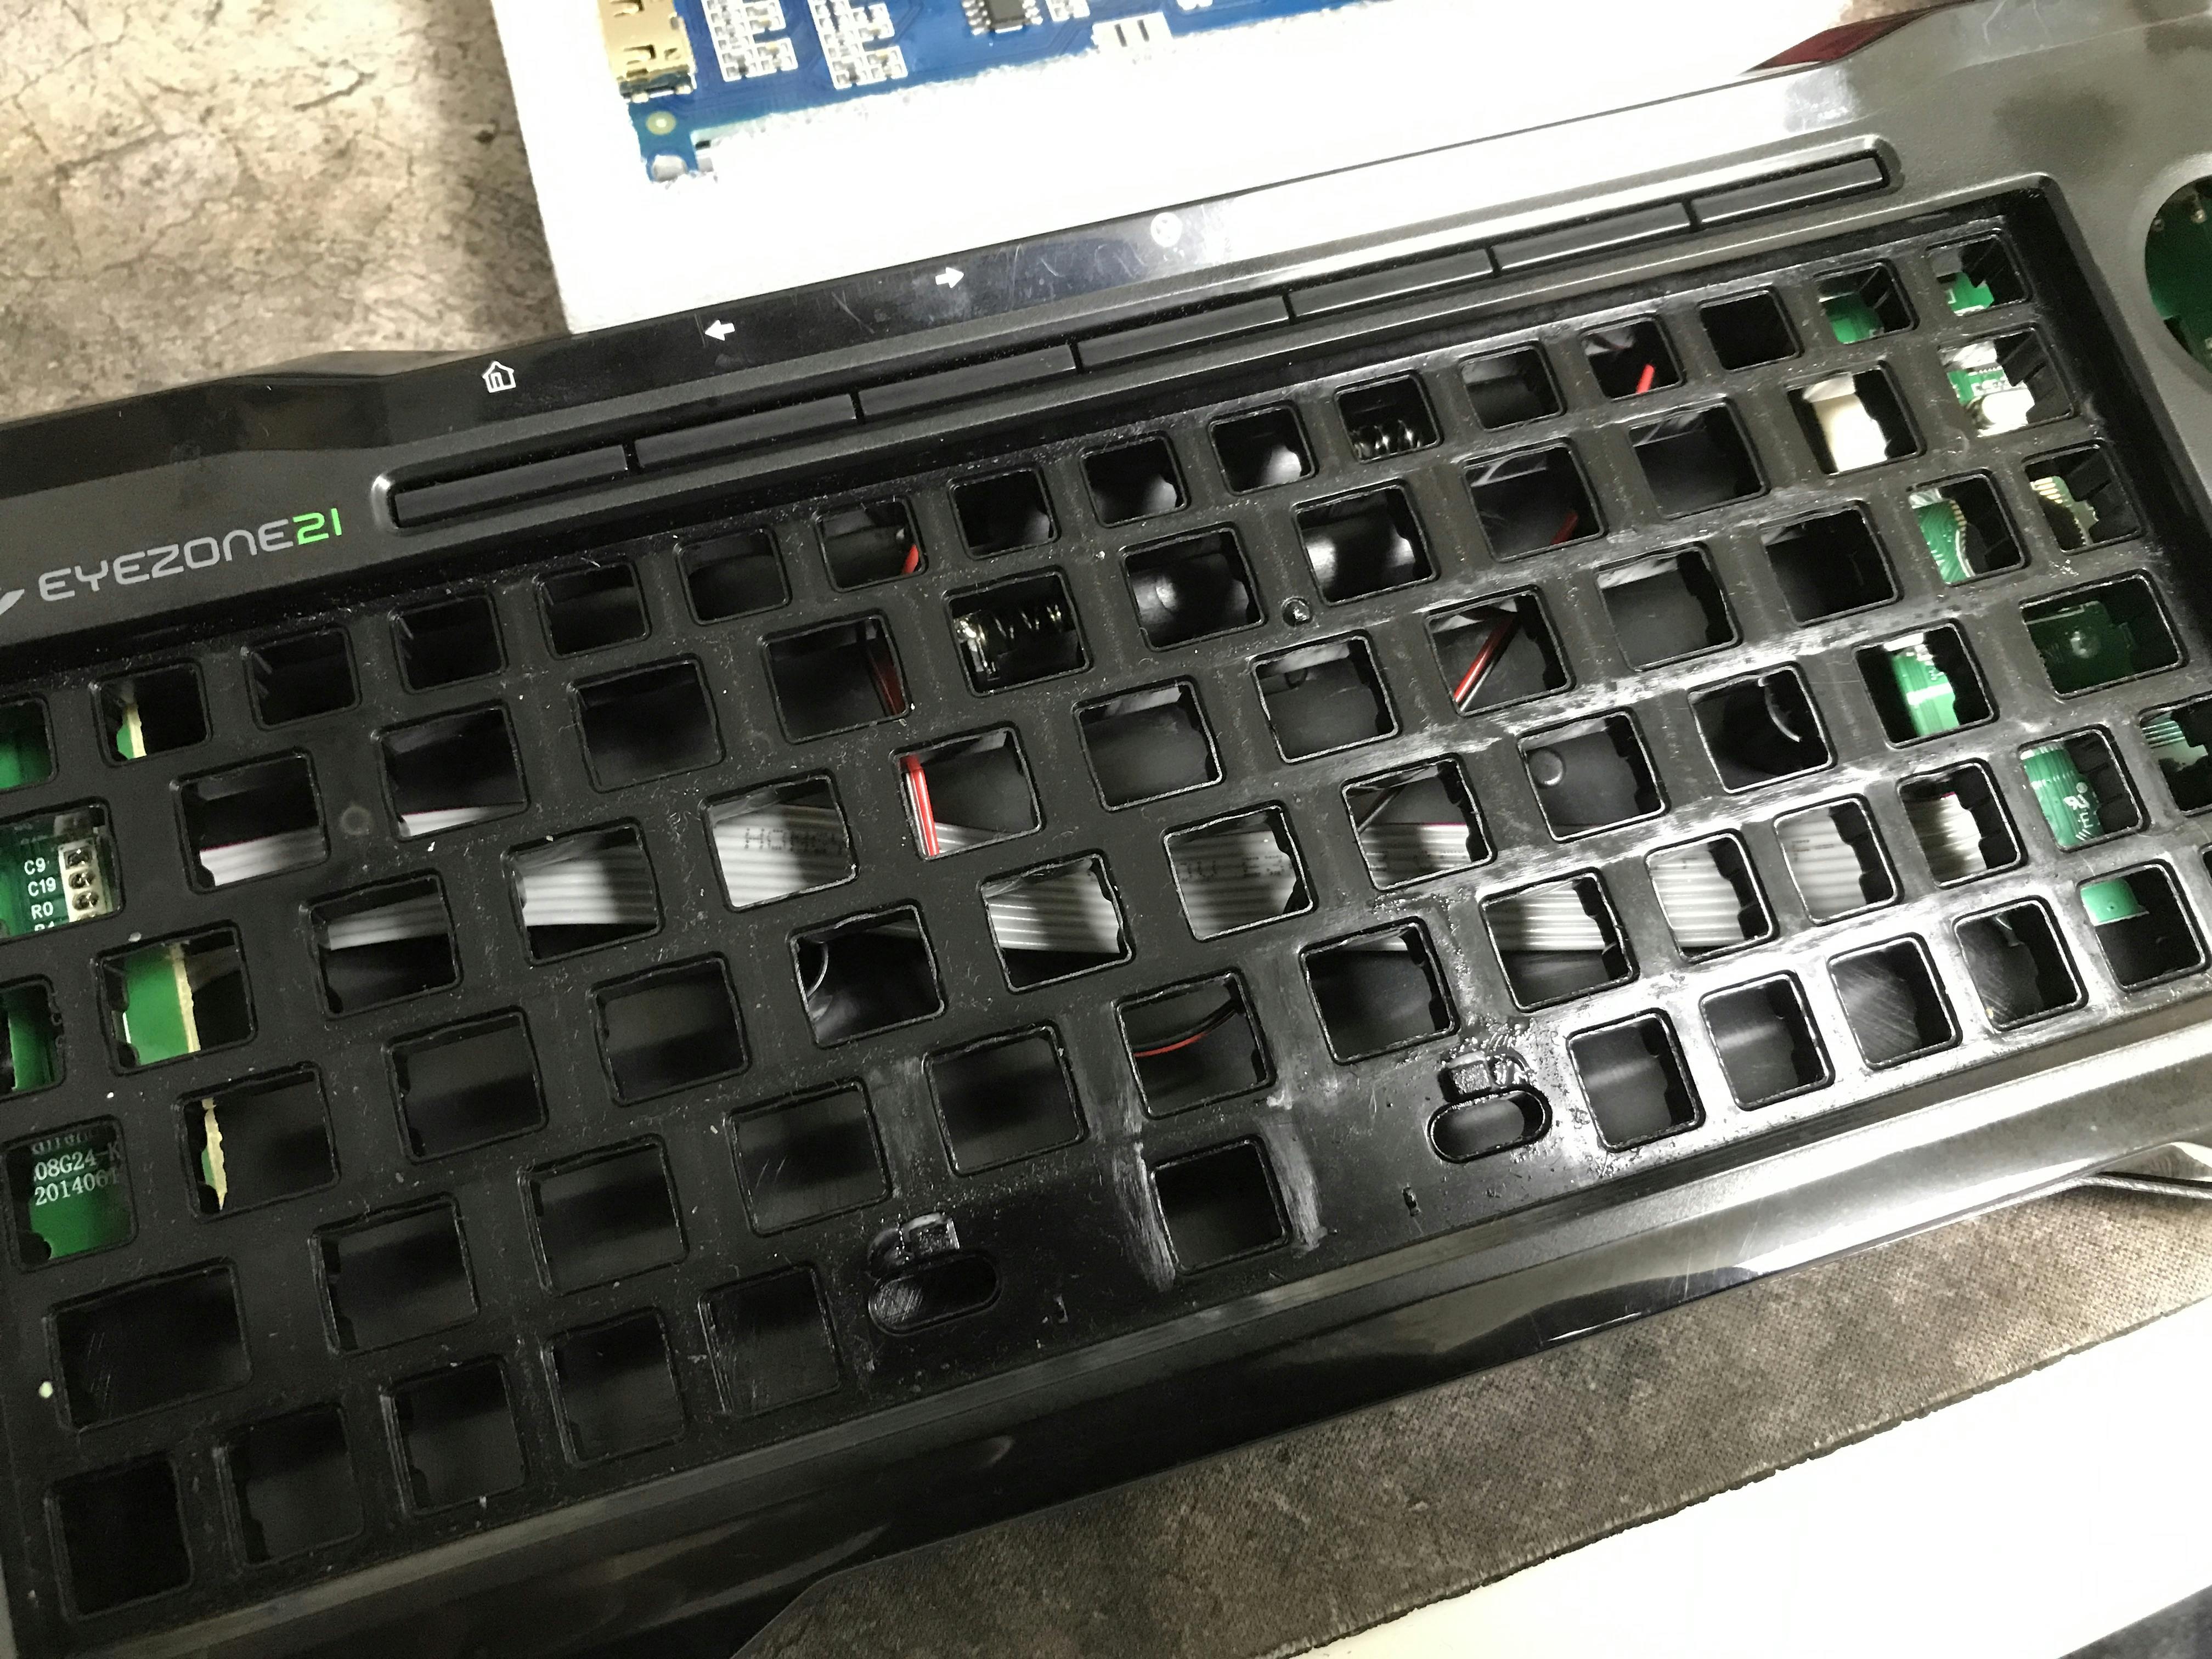
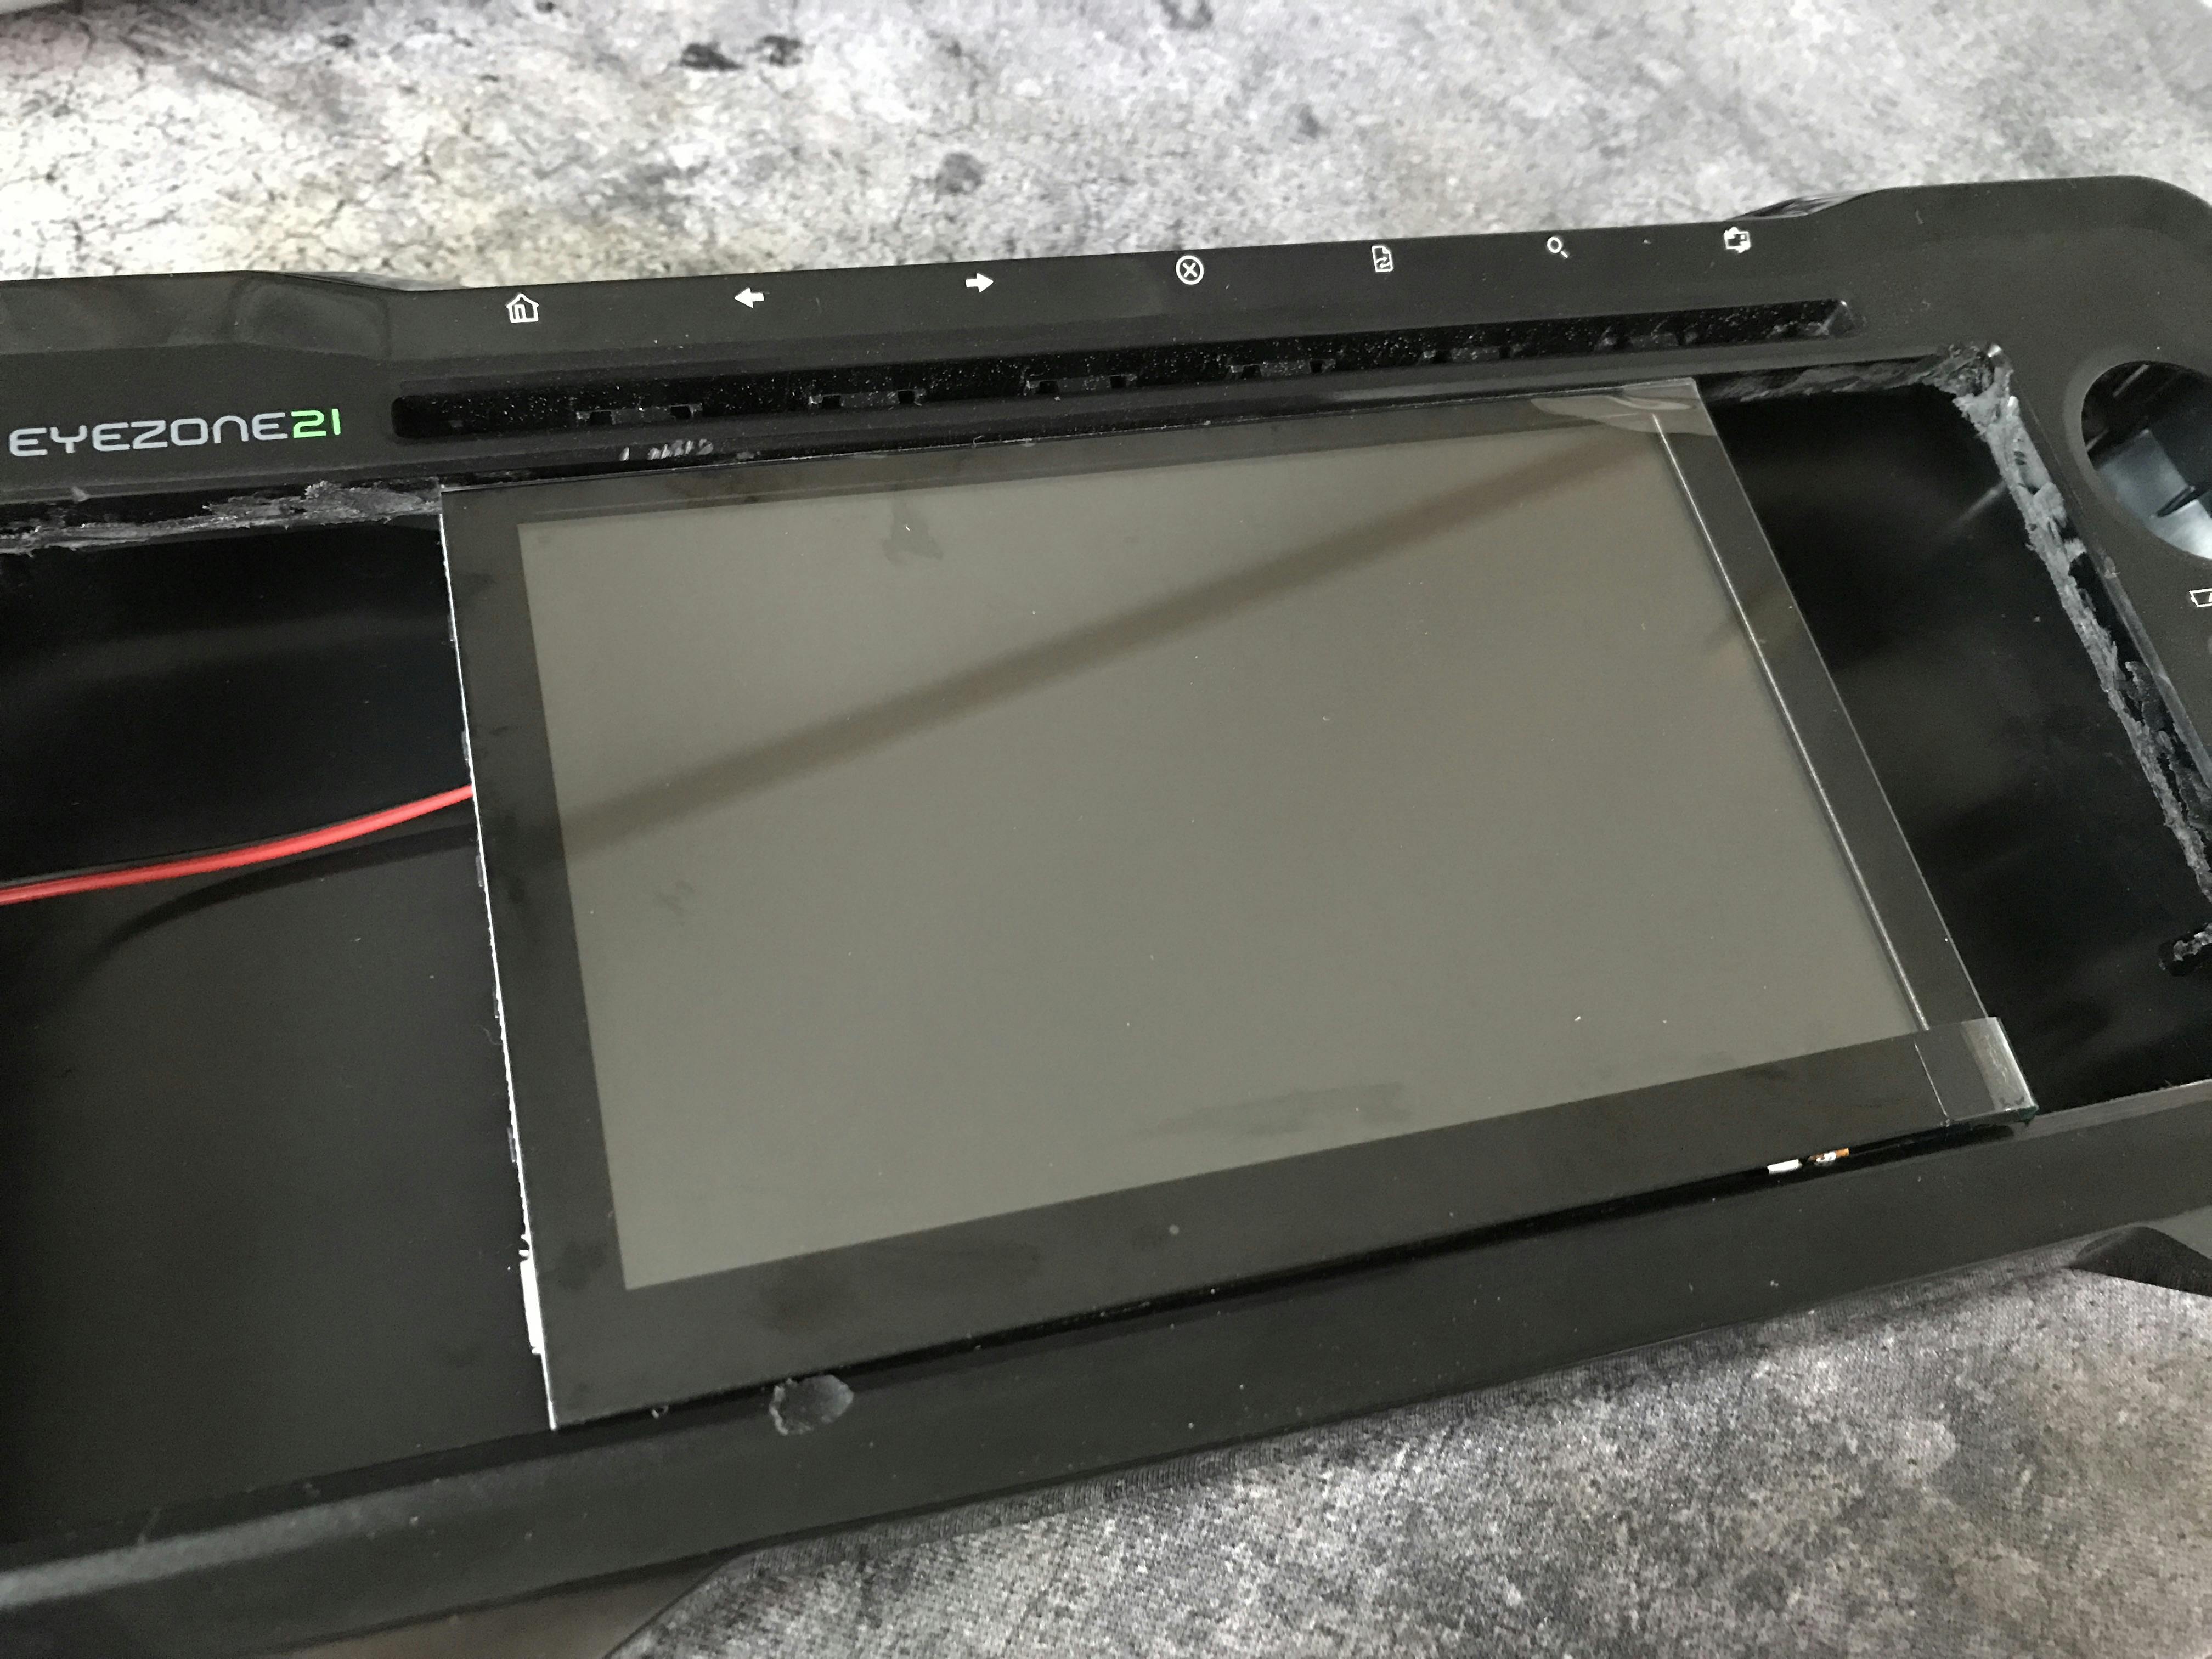
Cutting the keyboard out wasn't too bad, just time consuming and very messy. The screen fits just nicely.

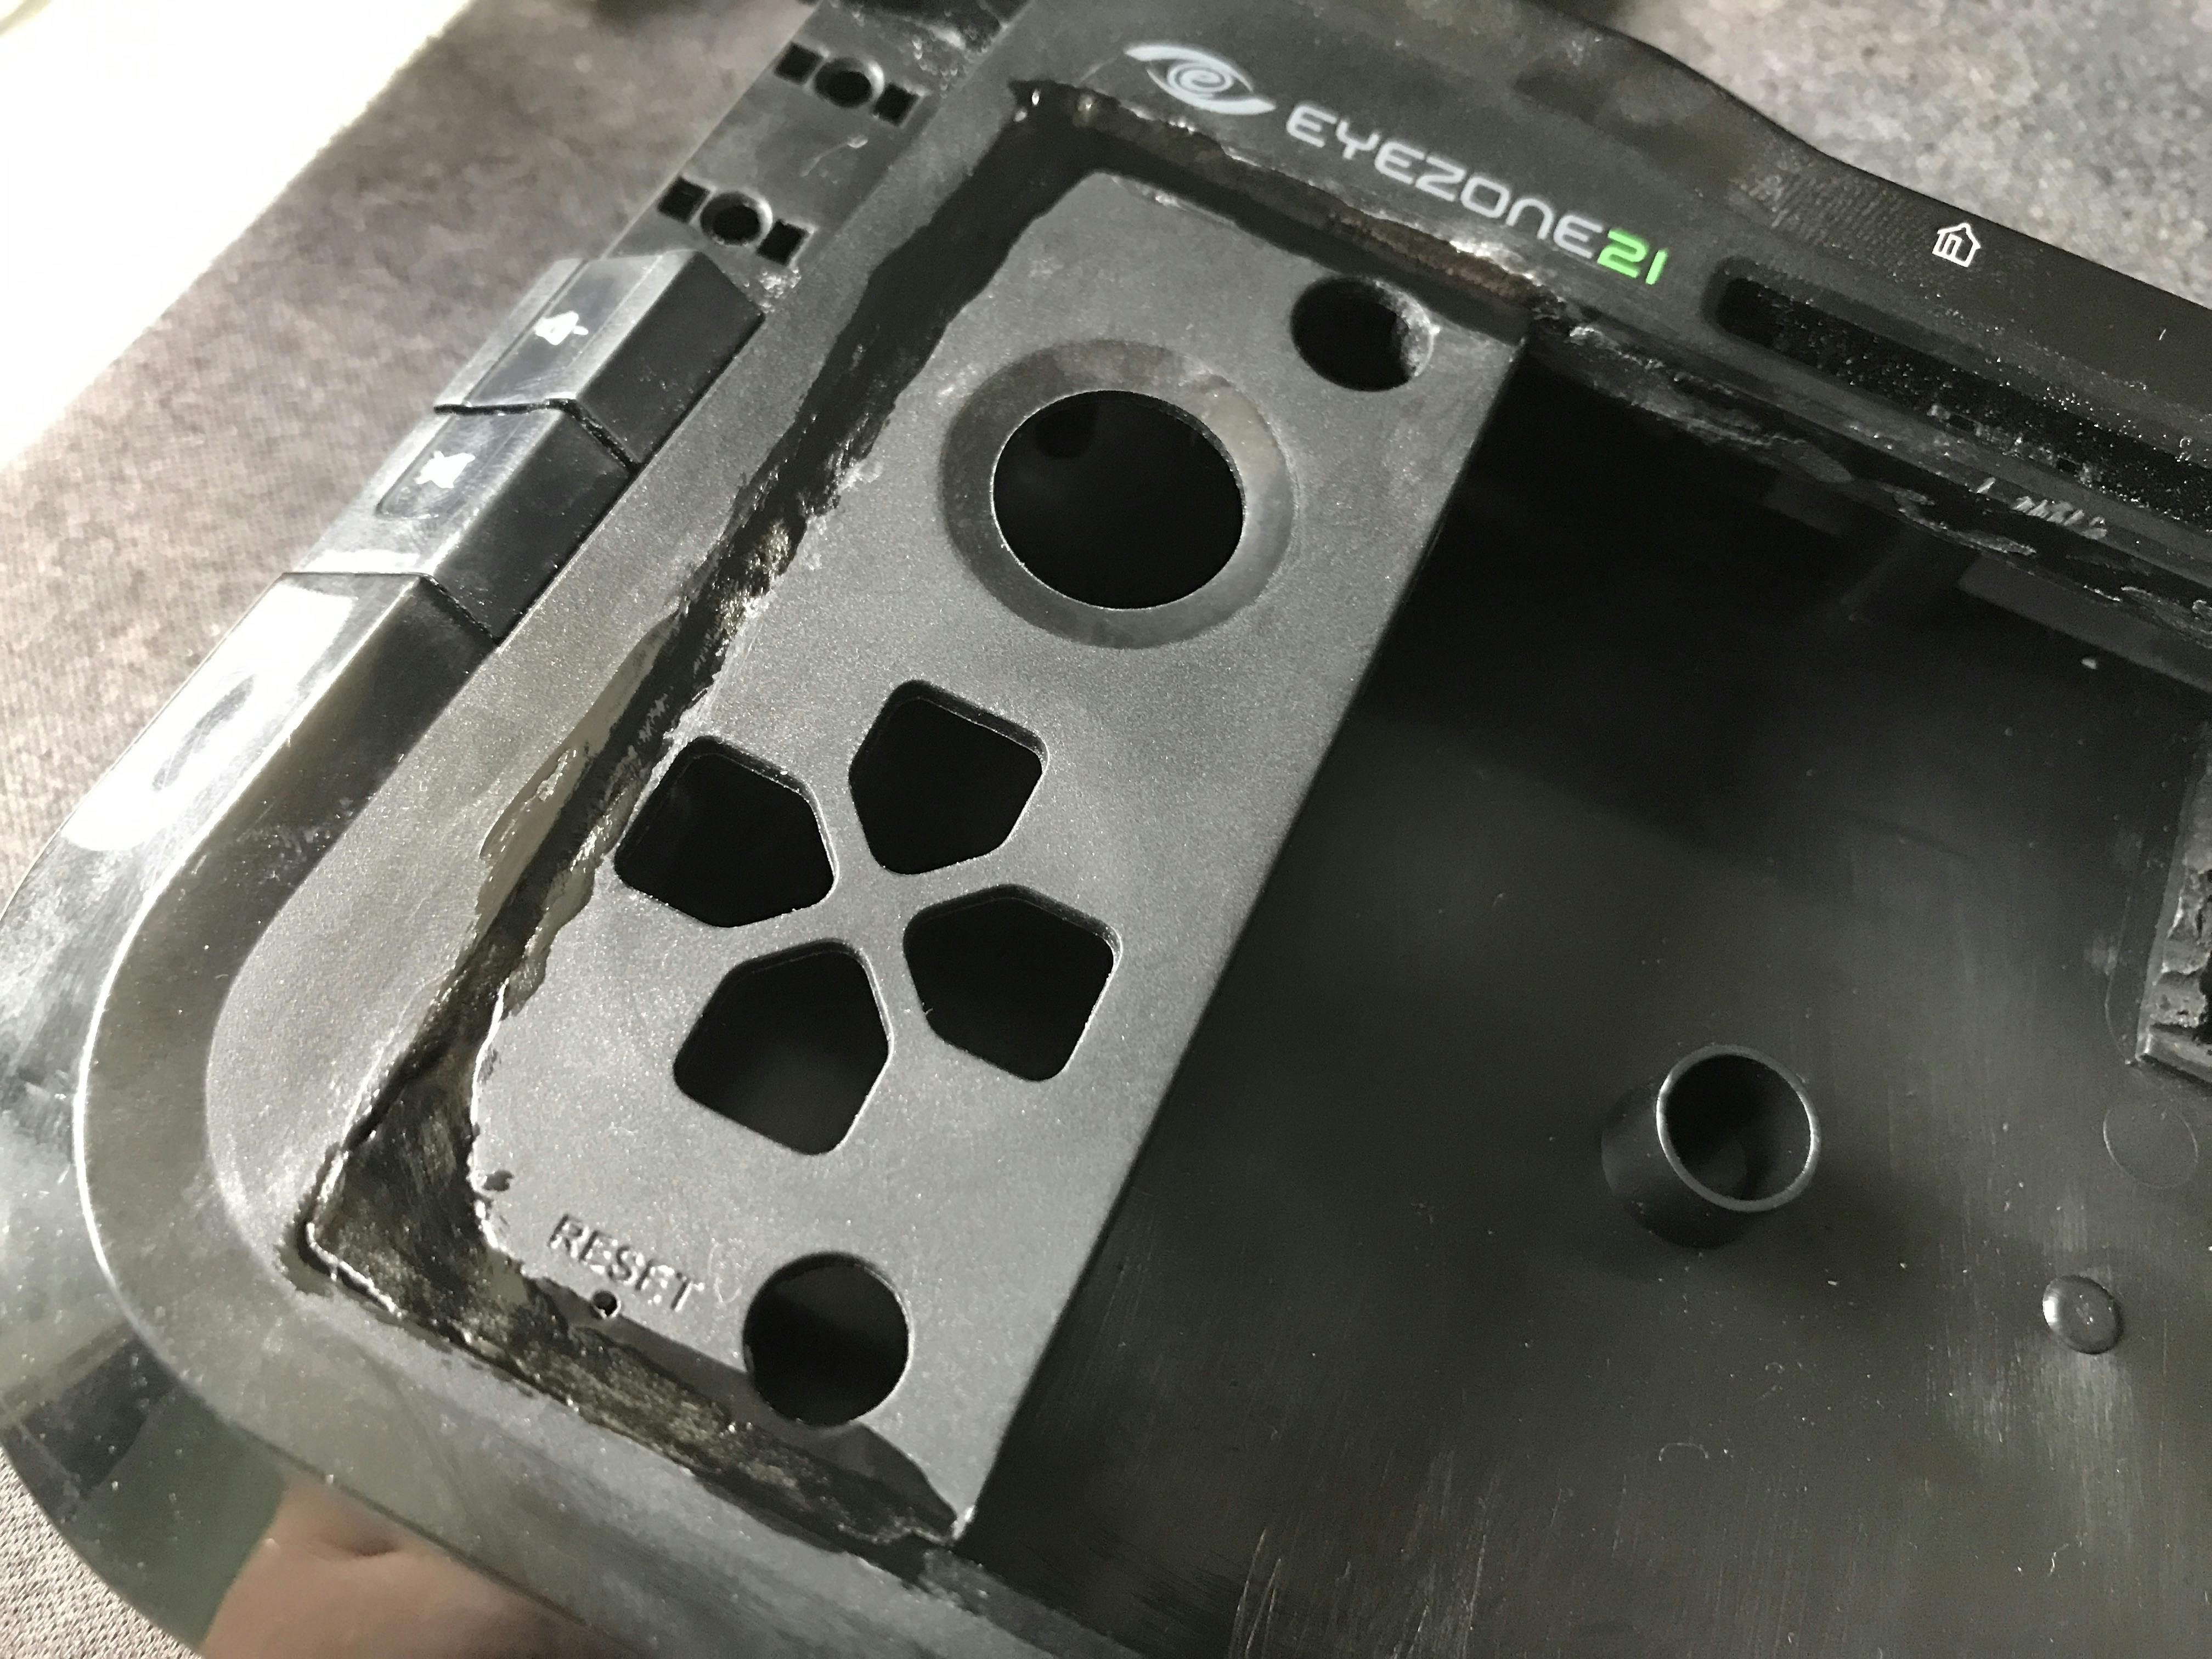
At this point I realised that if I wanted to mount controls at all, I'll probably need to clear out all of the keyboard mount.
But how would I mount controls? I thought about doing a couple of things. I thought about chopping up a cheap USB controller
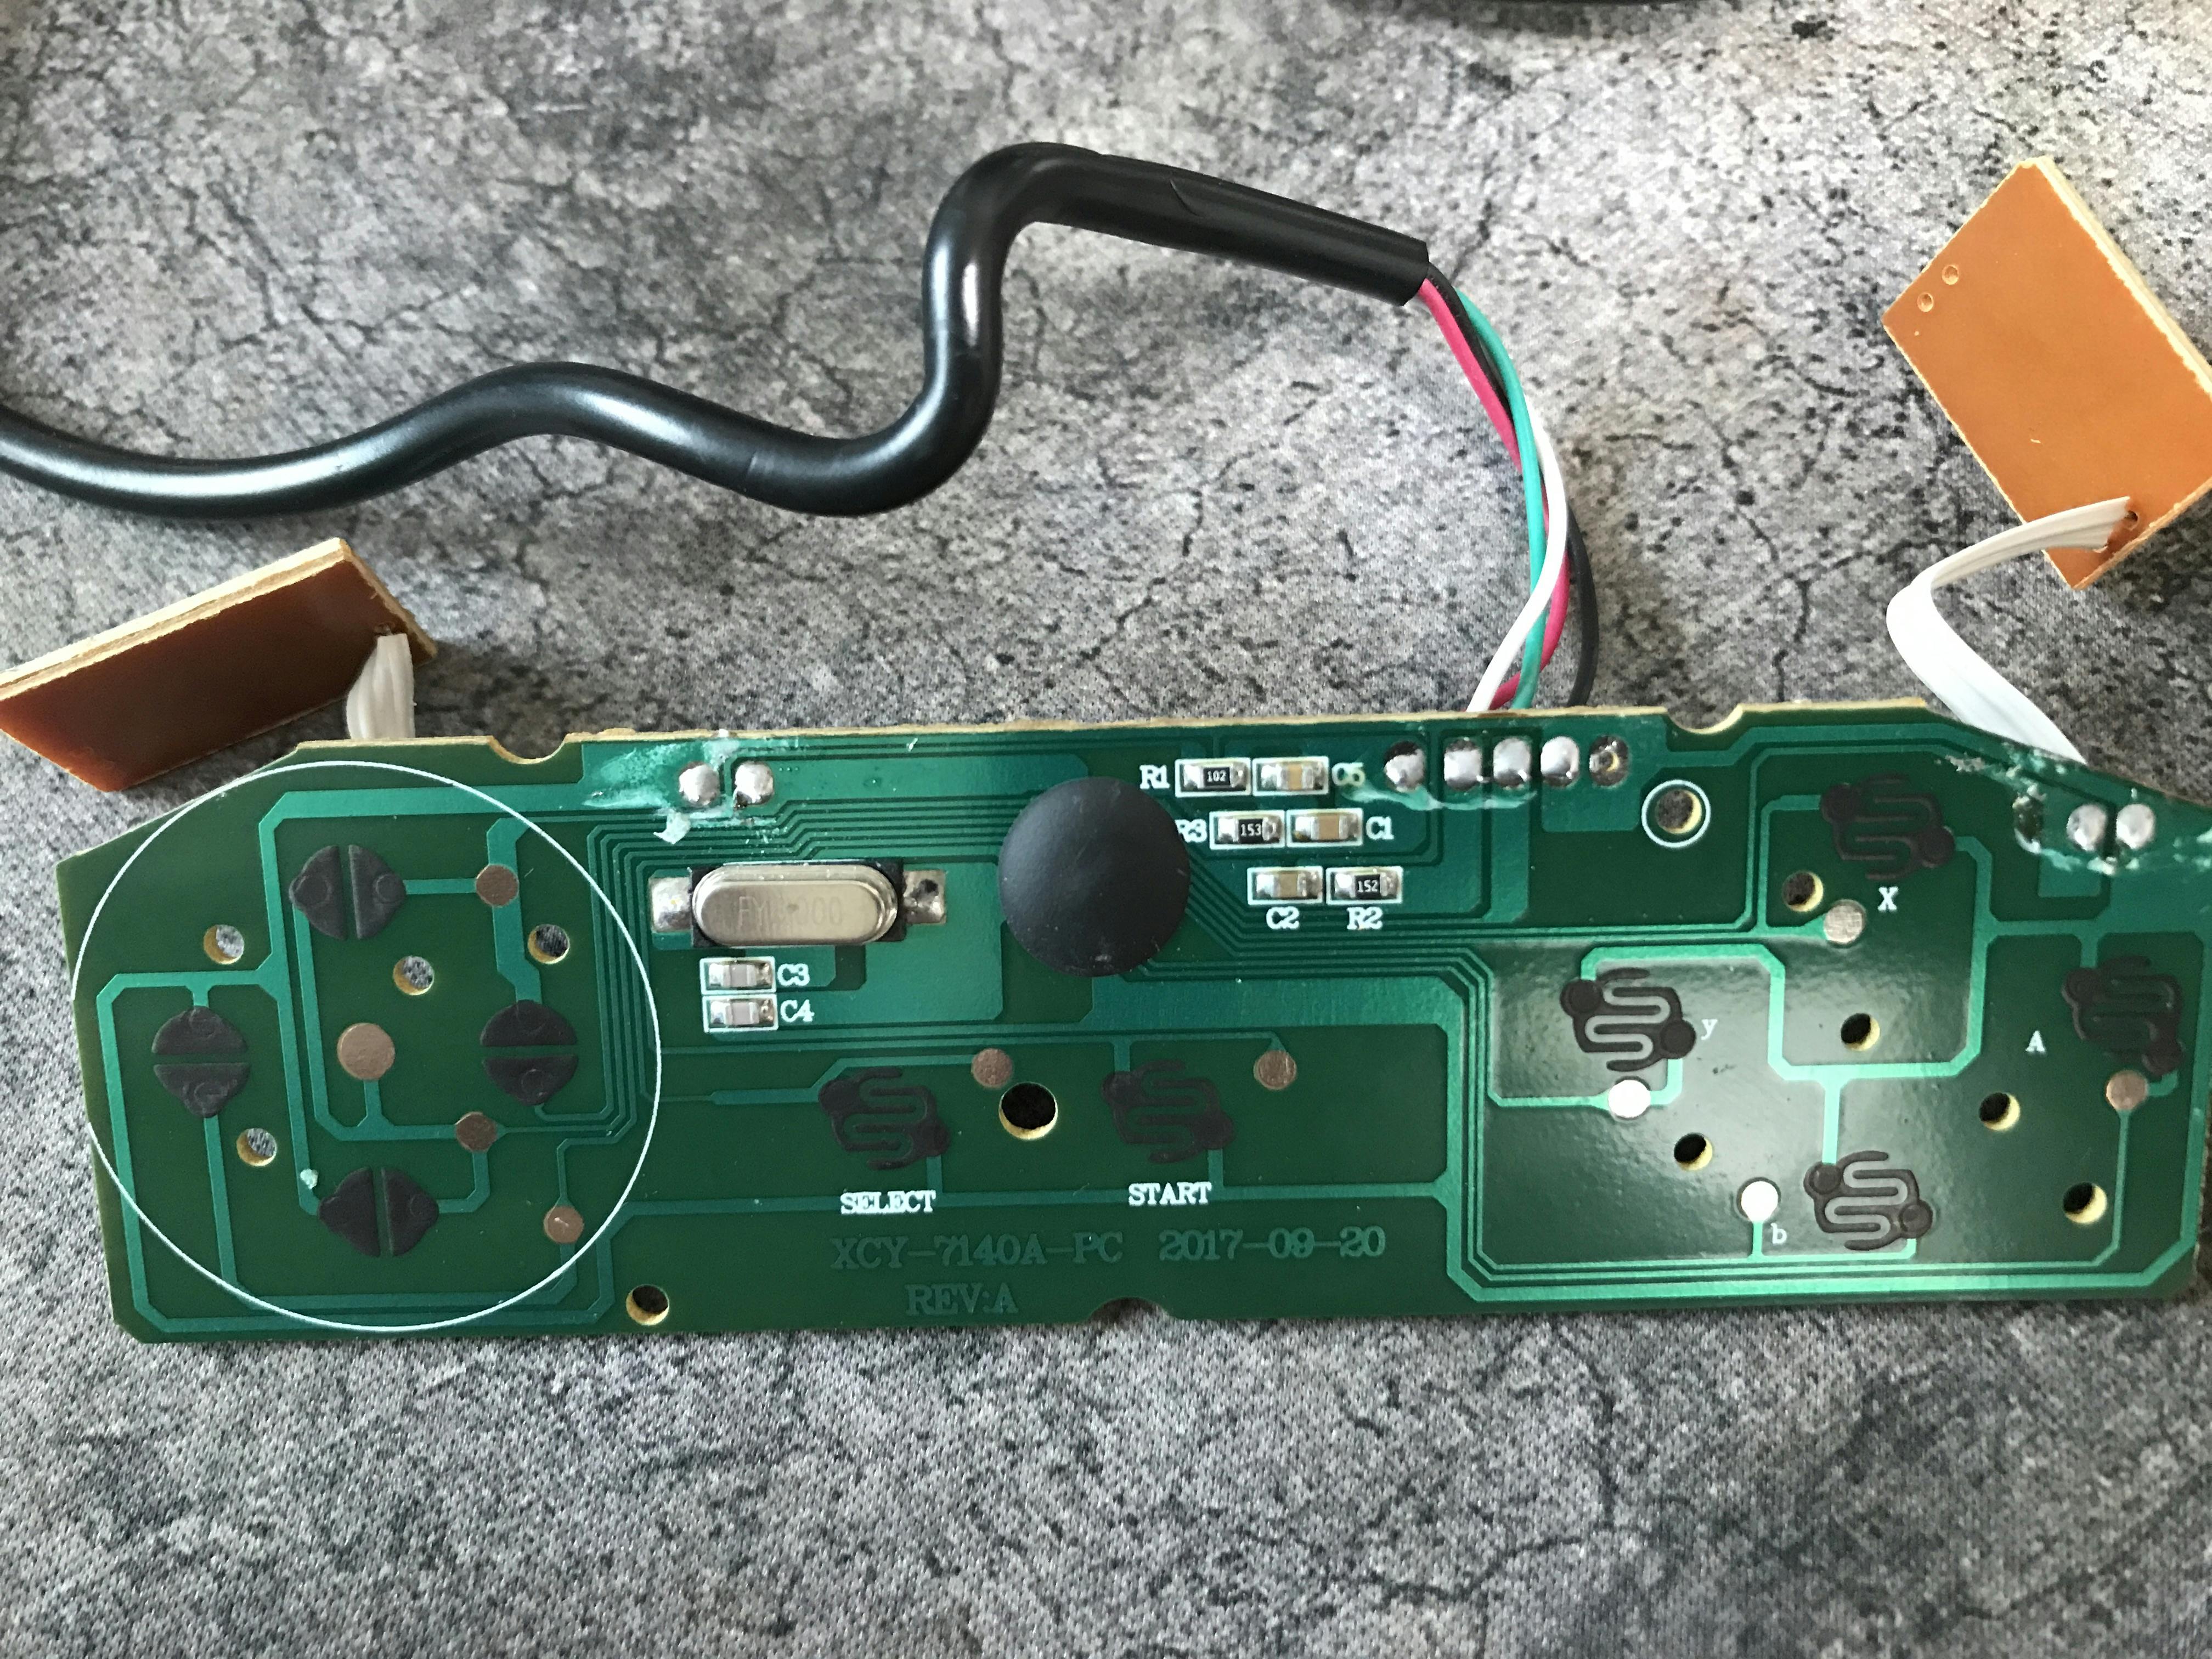
But how could I solder that back up? The buttons have to sit either side of the screen, and whilst I can solder, I'm not especially good at it. Plus... no joysticks. I considered a PS4 controller but a similar issue existed, compounded by the fact that its button circuitry was on this weird plastic film. No, I can't modify that.
I found out that you can buy mobile phone controllers, and these sit with the controls either side of the screen.
I did some digging and found a device called Joytron MXFlex3. I also found a refurbished one on Naver Shopping (I live in Korea).
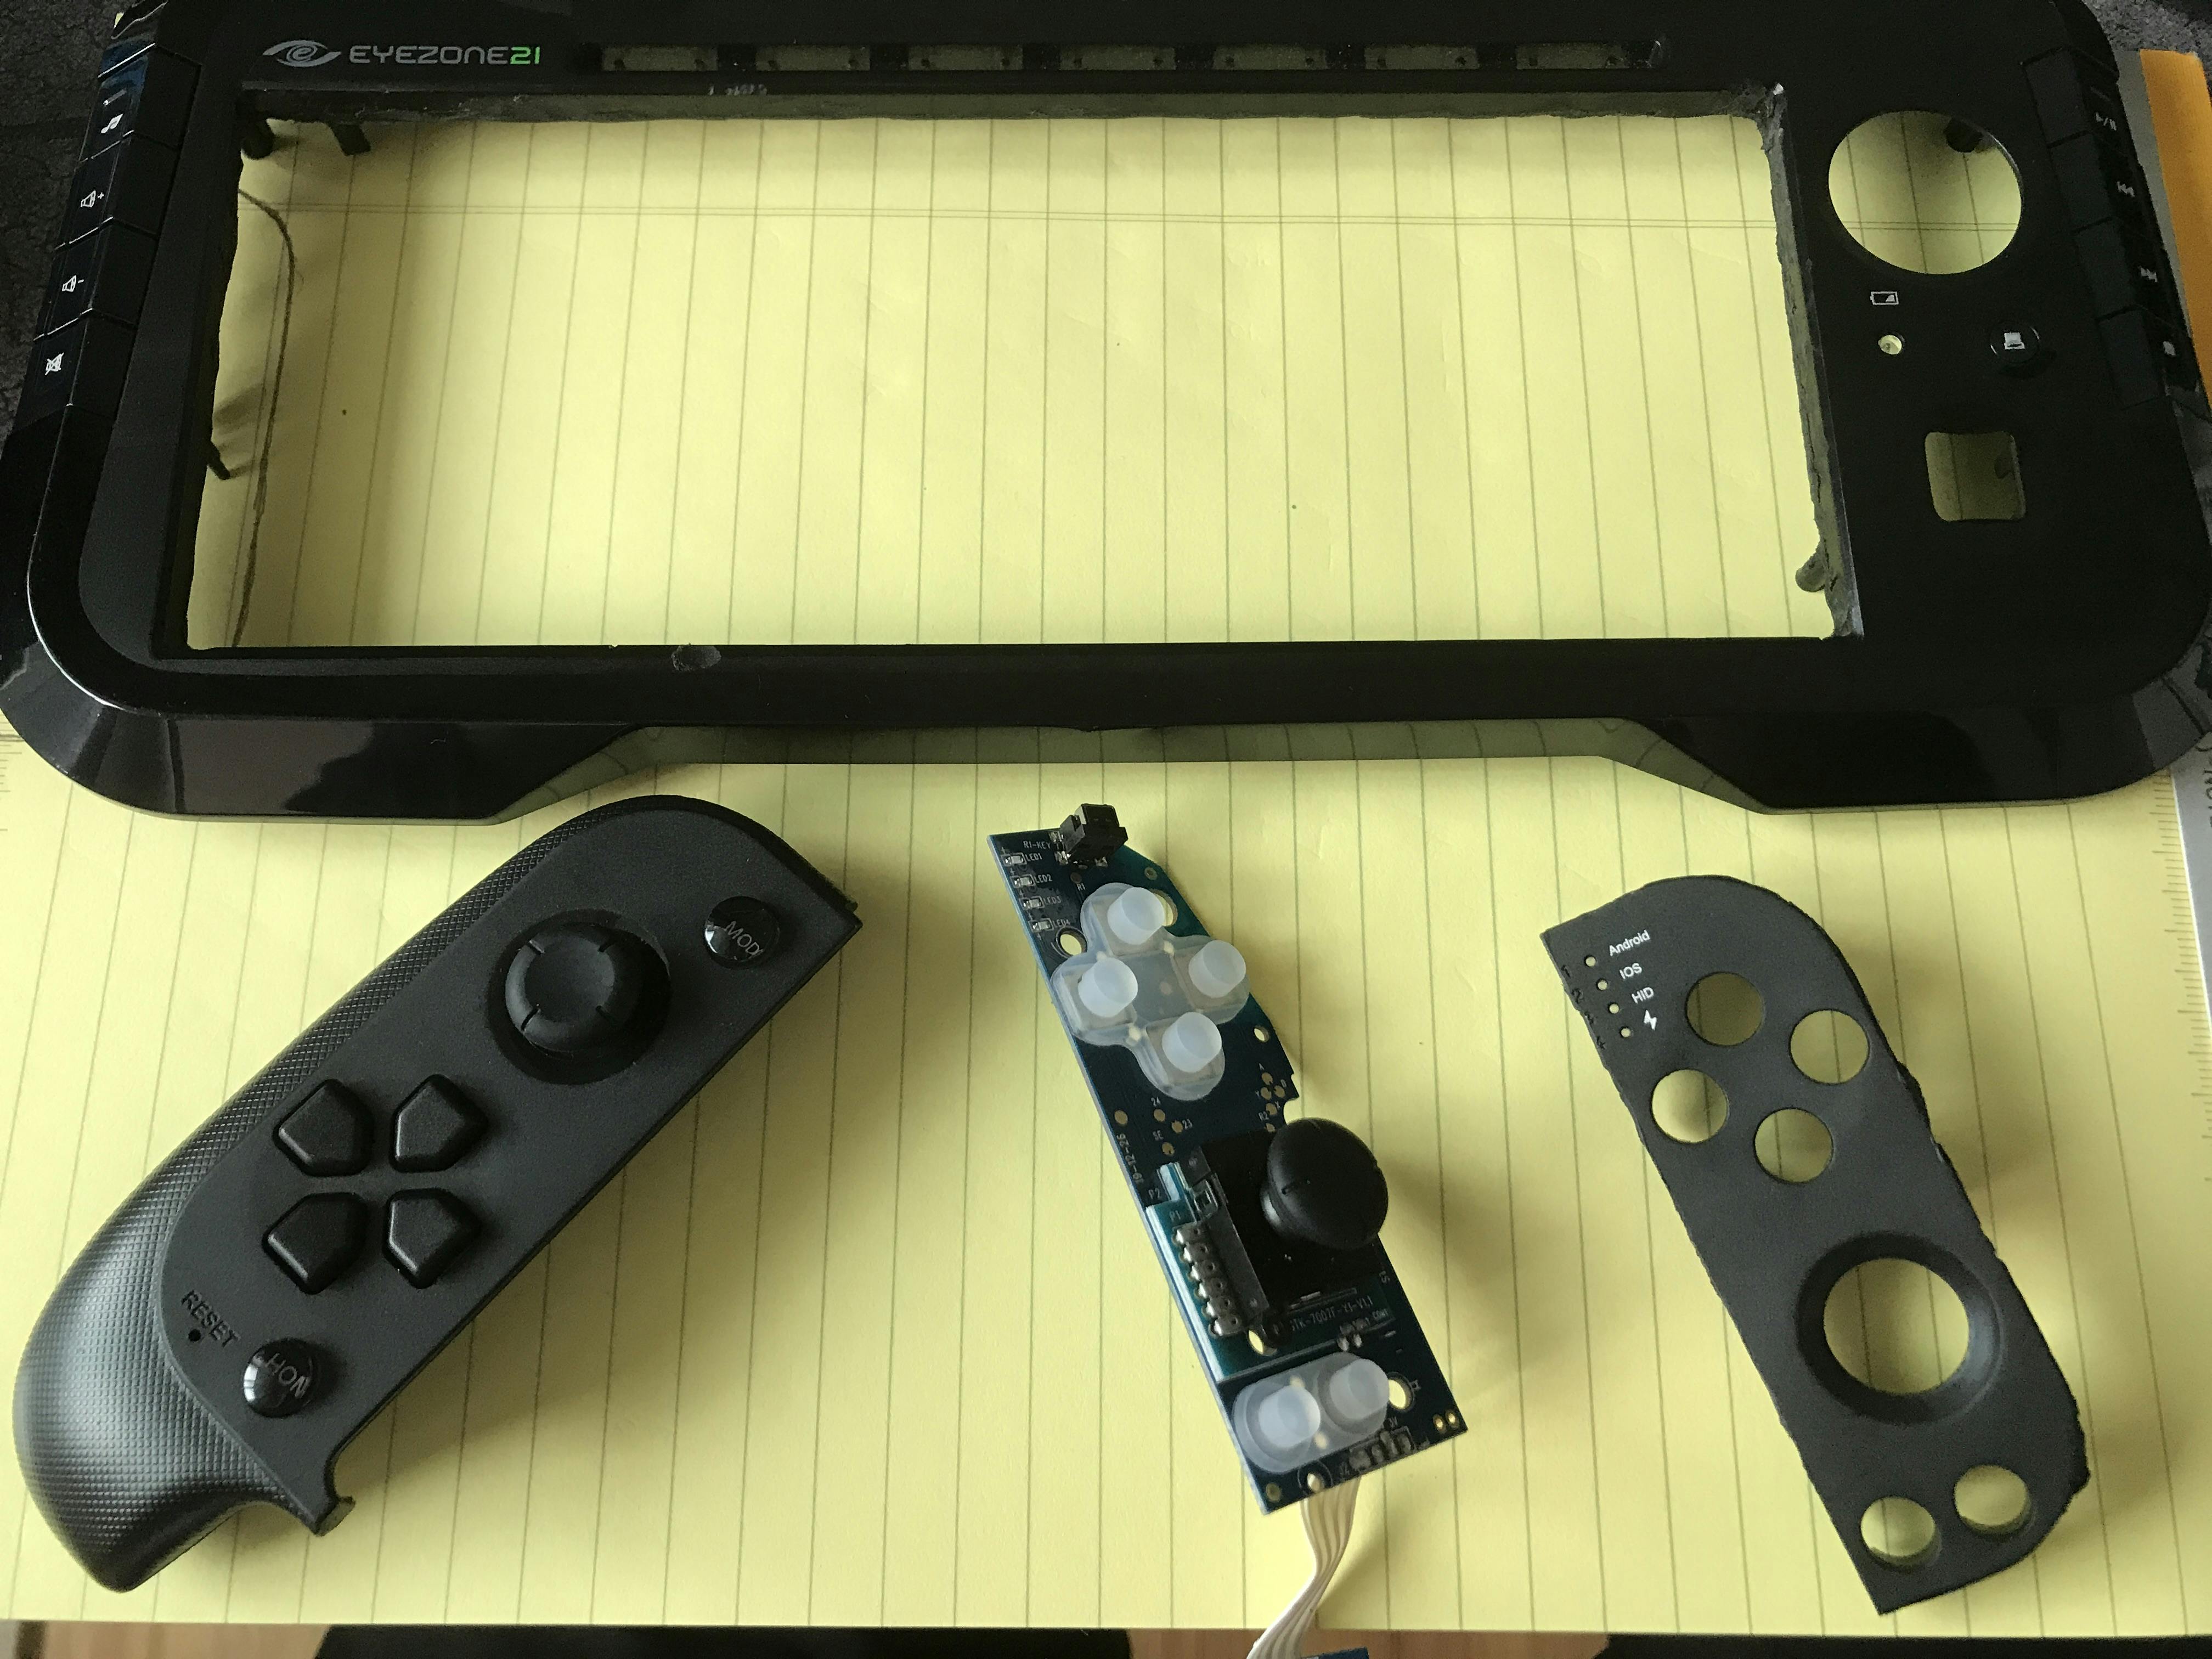
The I decided the best option now was to cut out the existing control holes and glue in the mounting panel from the controller. I also ended up cutting out some more frame from the left side to mount the left side too.
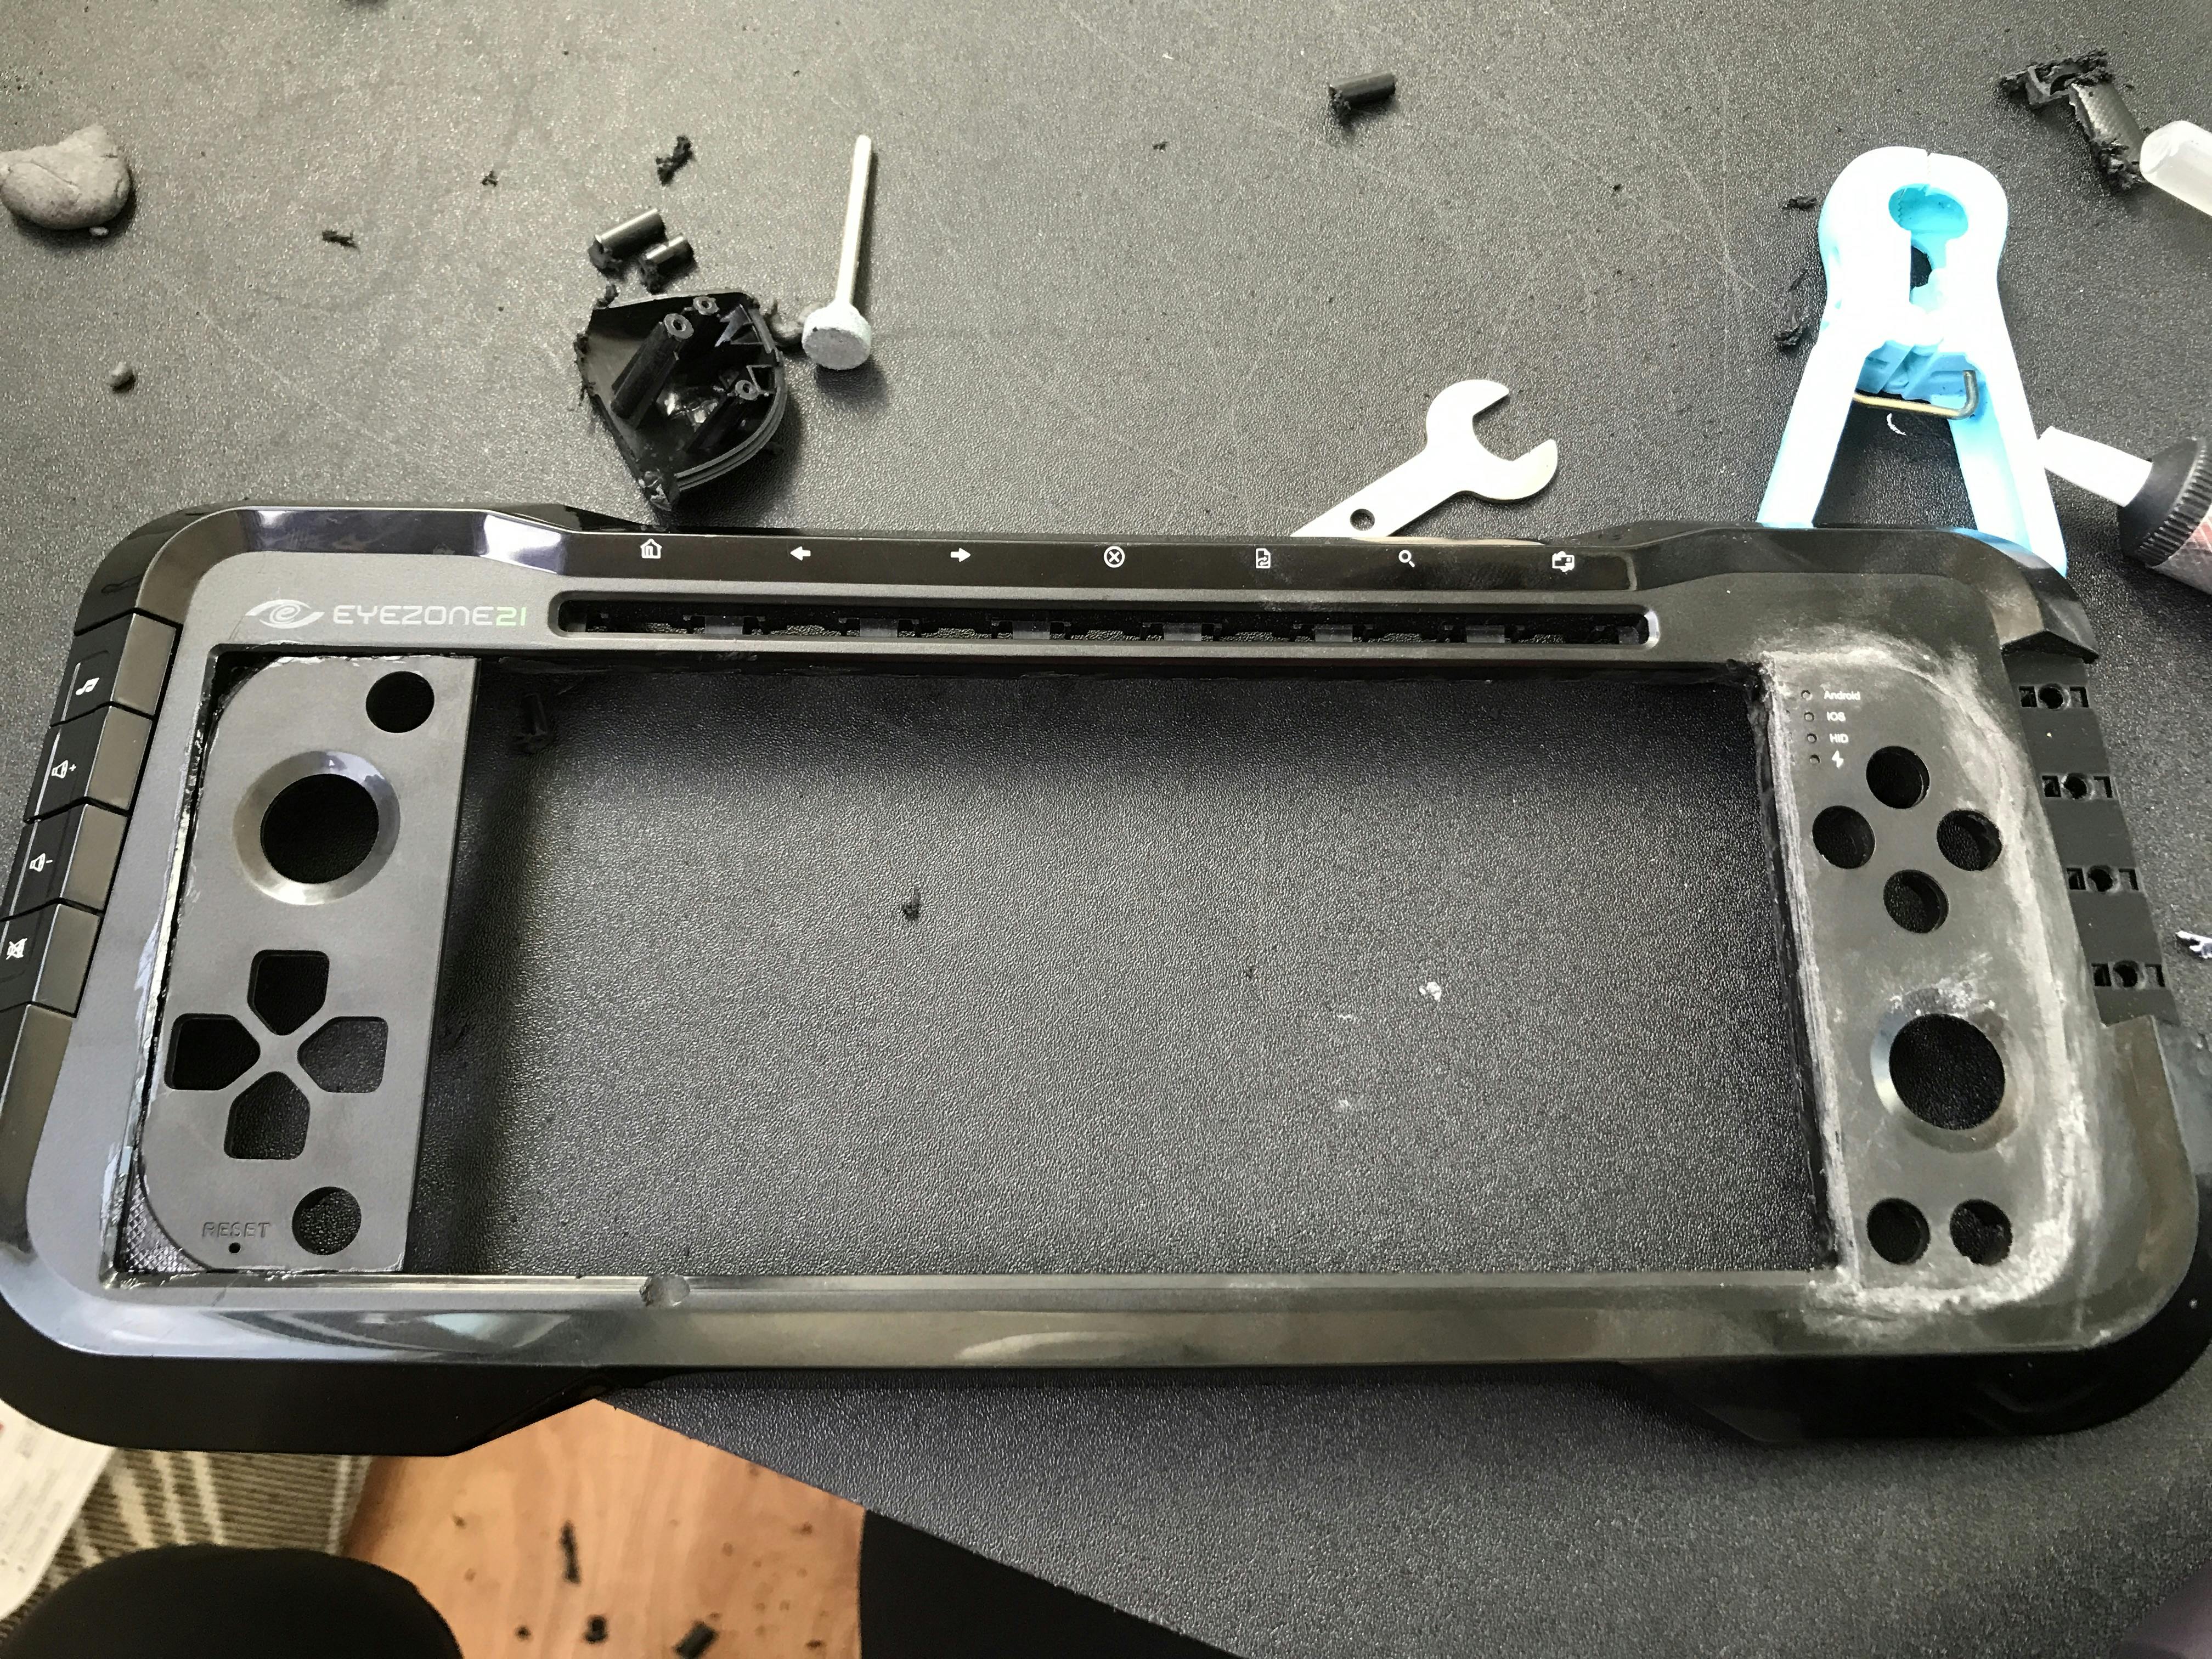
Not the best workmanship, but passable. I'd need some sort of filler, so I went with some epoxy putty. I bought one called 'FastSteel' because it was supposed to be black. It wasn't black. It's also very sticky, and it sets really quickly. At this point... it's going to need some extra cosmetic work to result in something actually cool-looking, but... the control panels are mounted and the holes are filled, and that's most important.
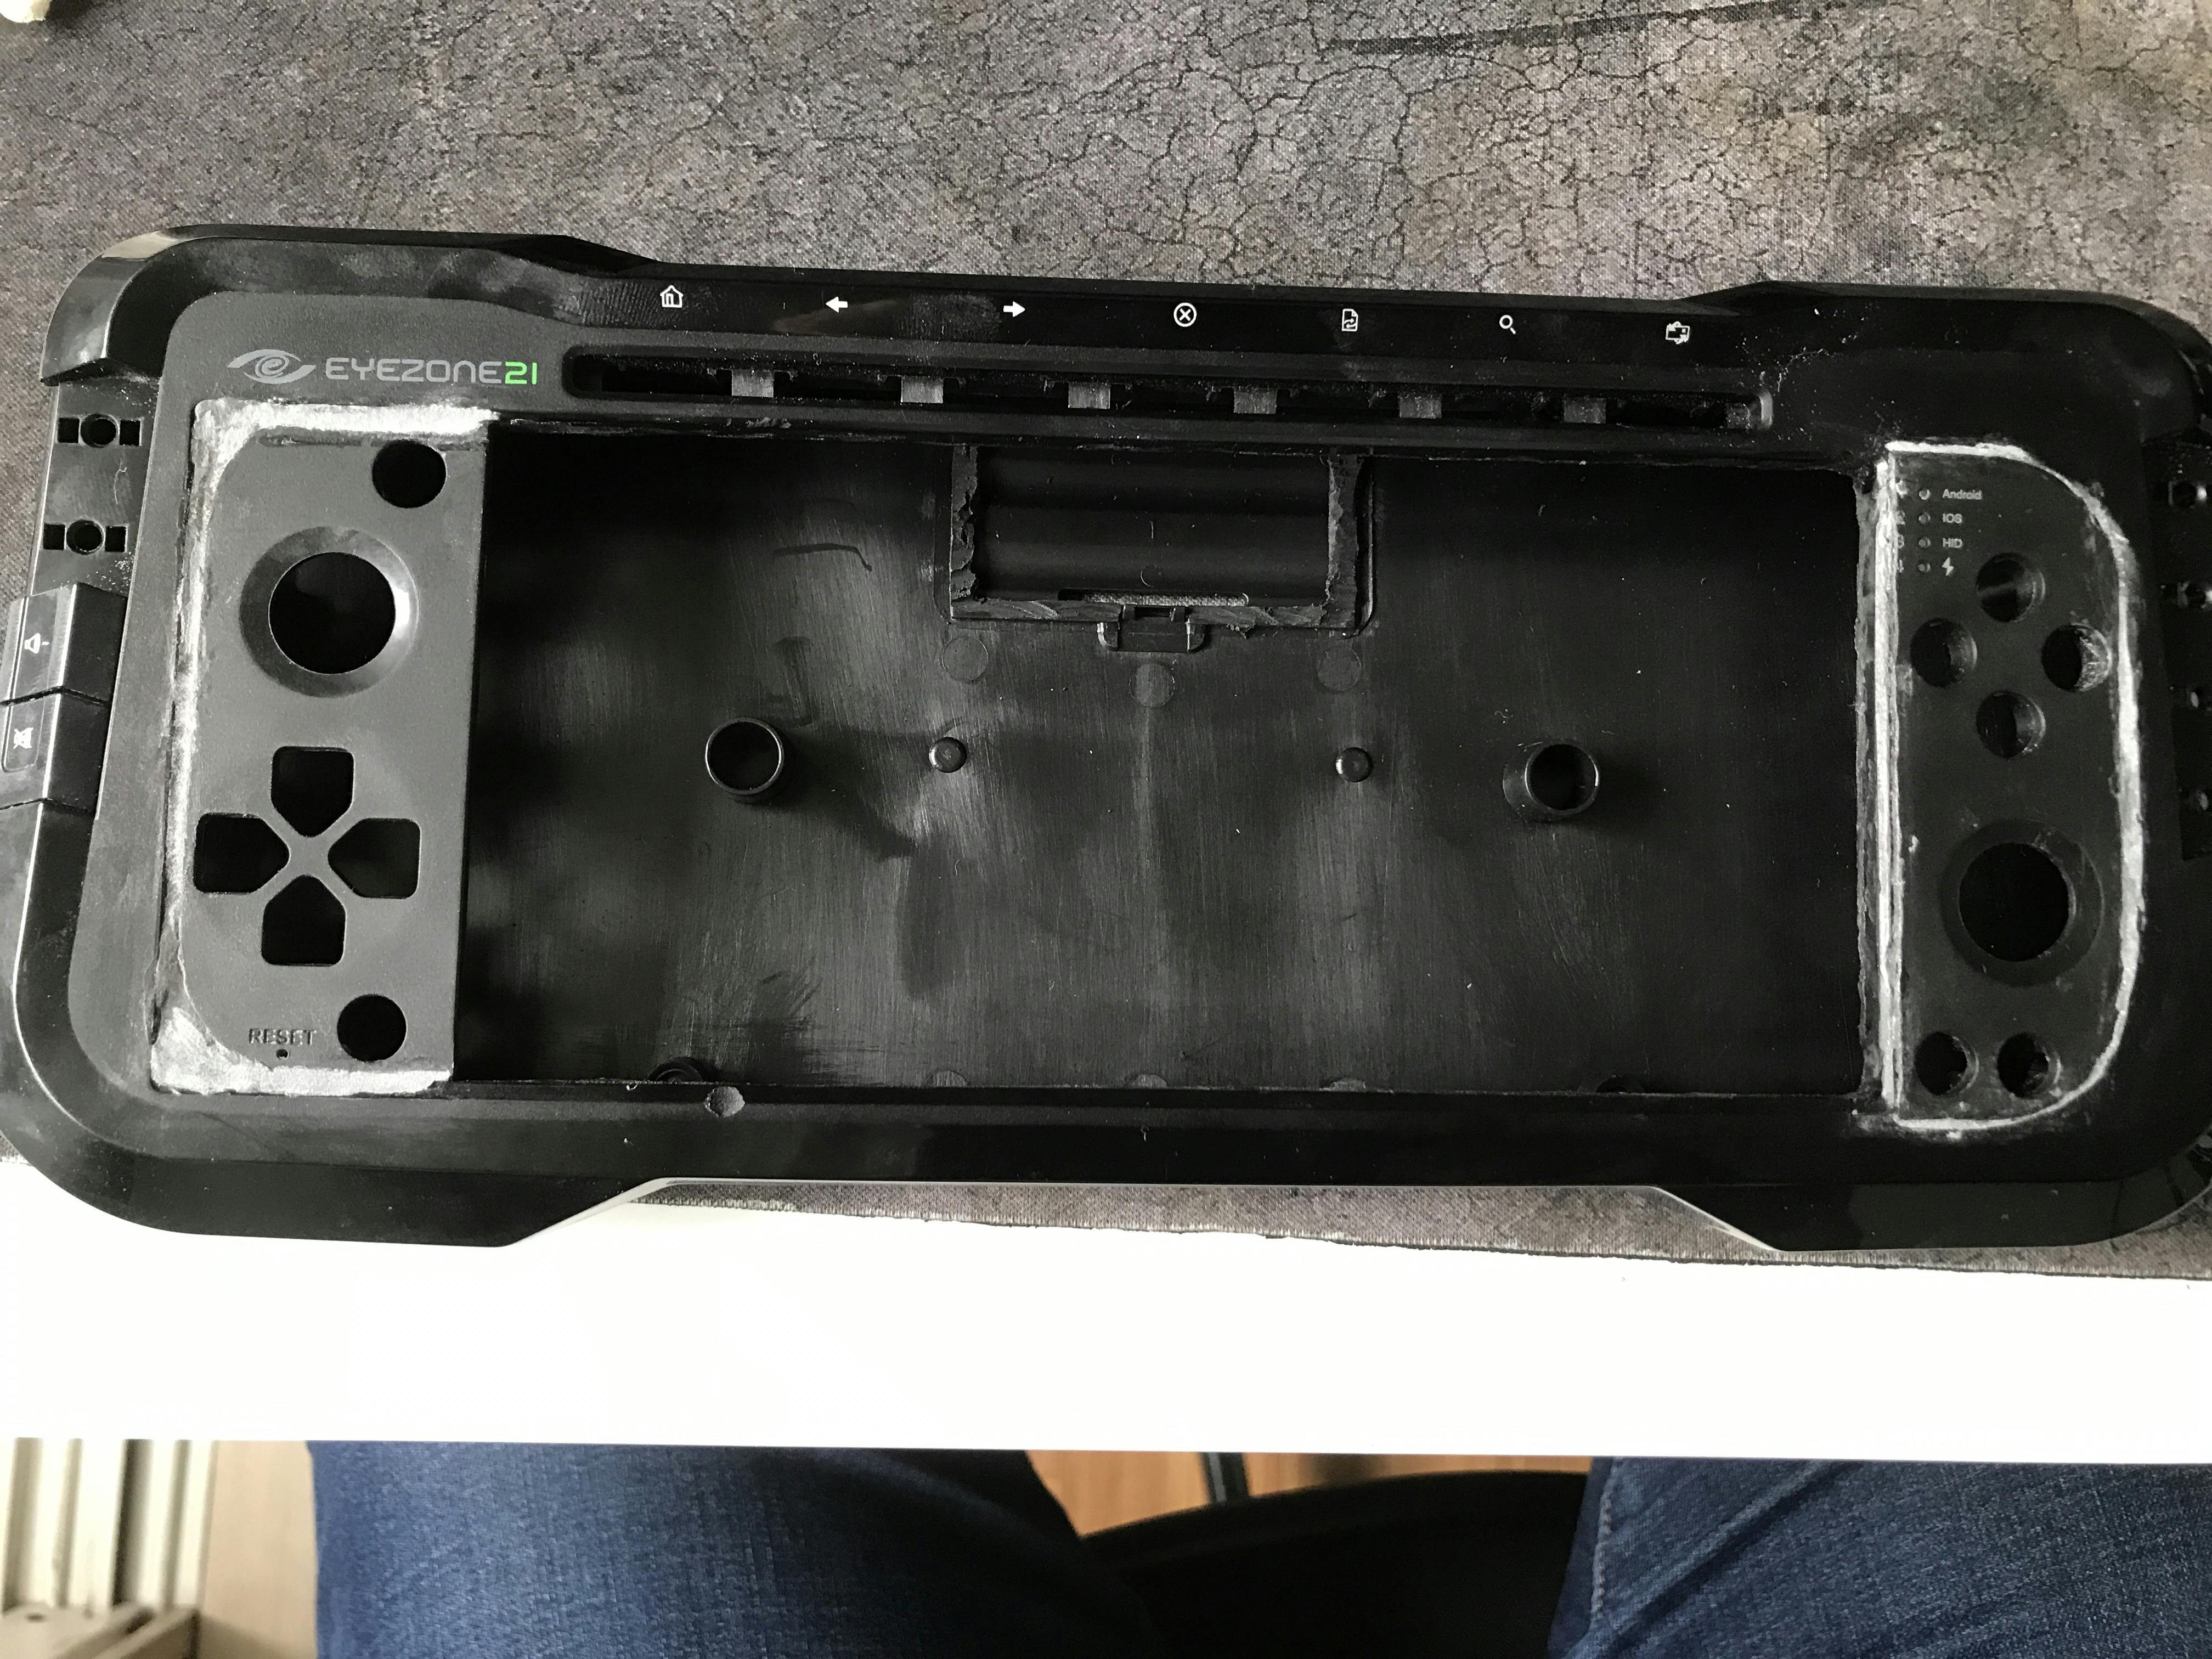
I tried using nail polish to smooth over the epoxy putty and colour it black again, but it didn't work out that well.
Uh... hmm. I think I'm going to sand the whole thing down later and spray it. Then I can be a bit more relaxed with the appearance at this point and concentrate on just getting things smooth.
Next, mounting the screen.
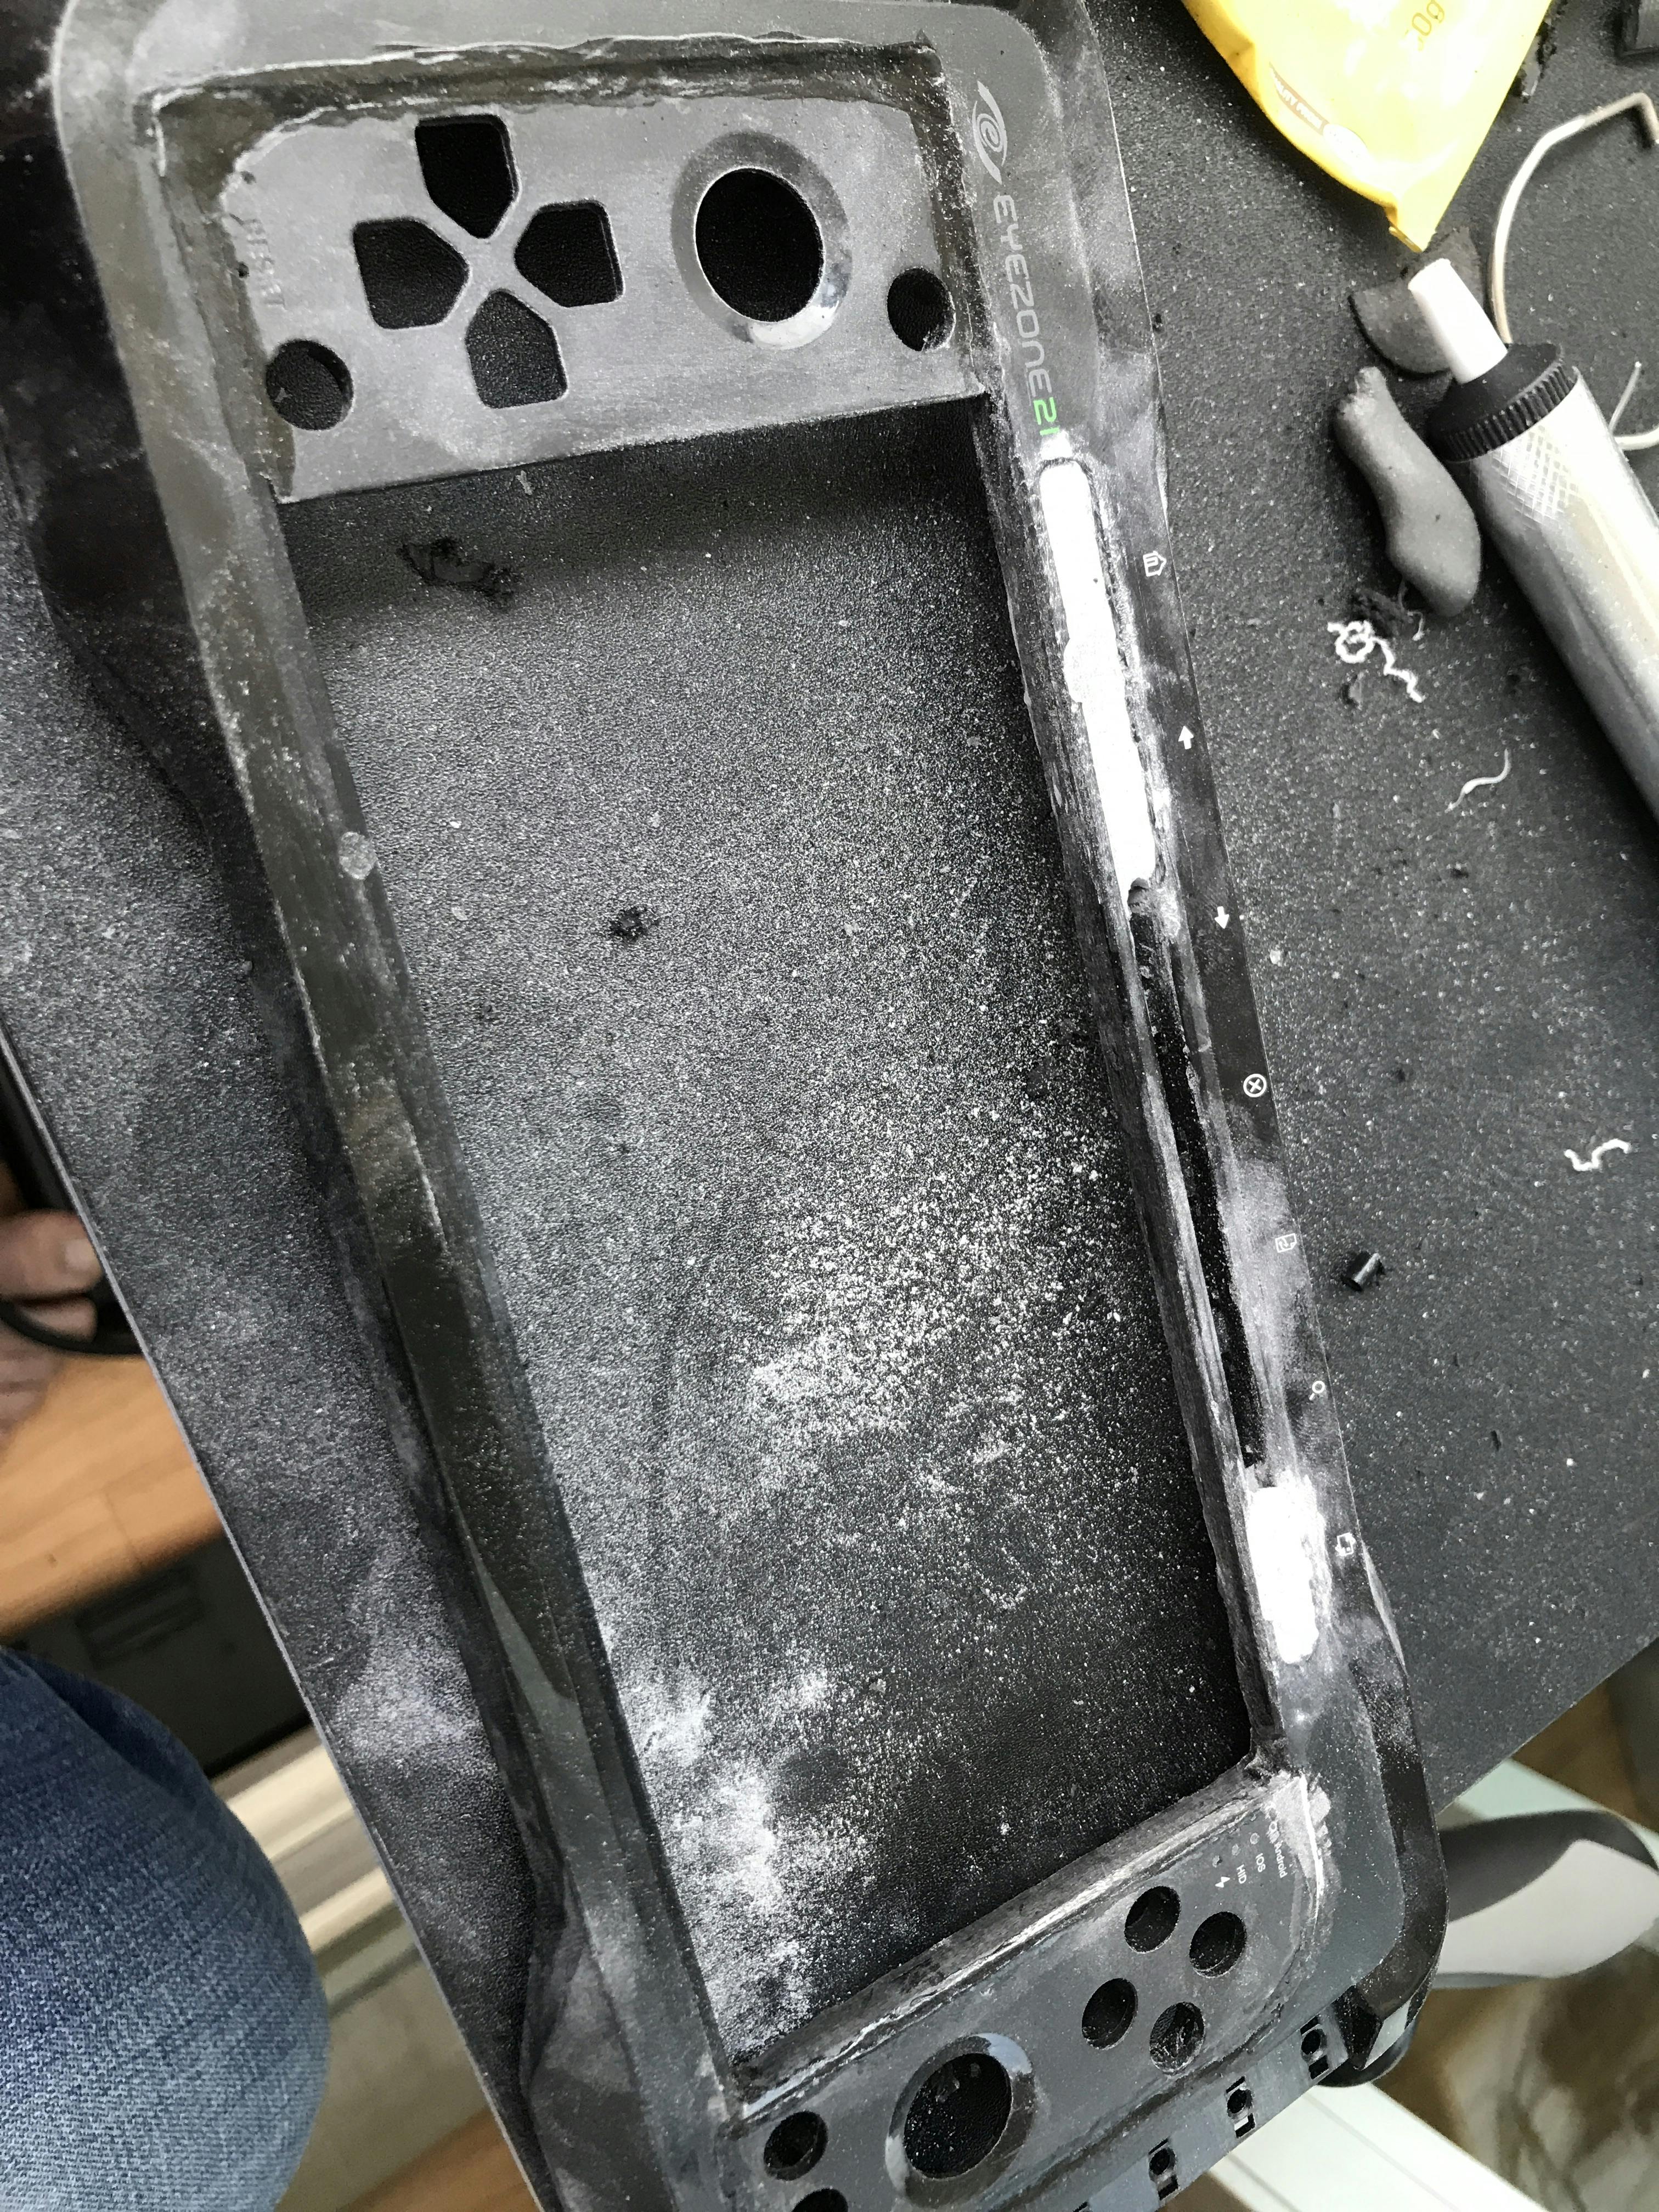
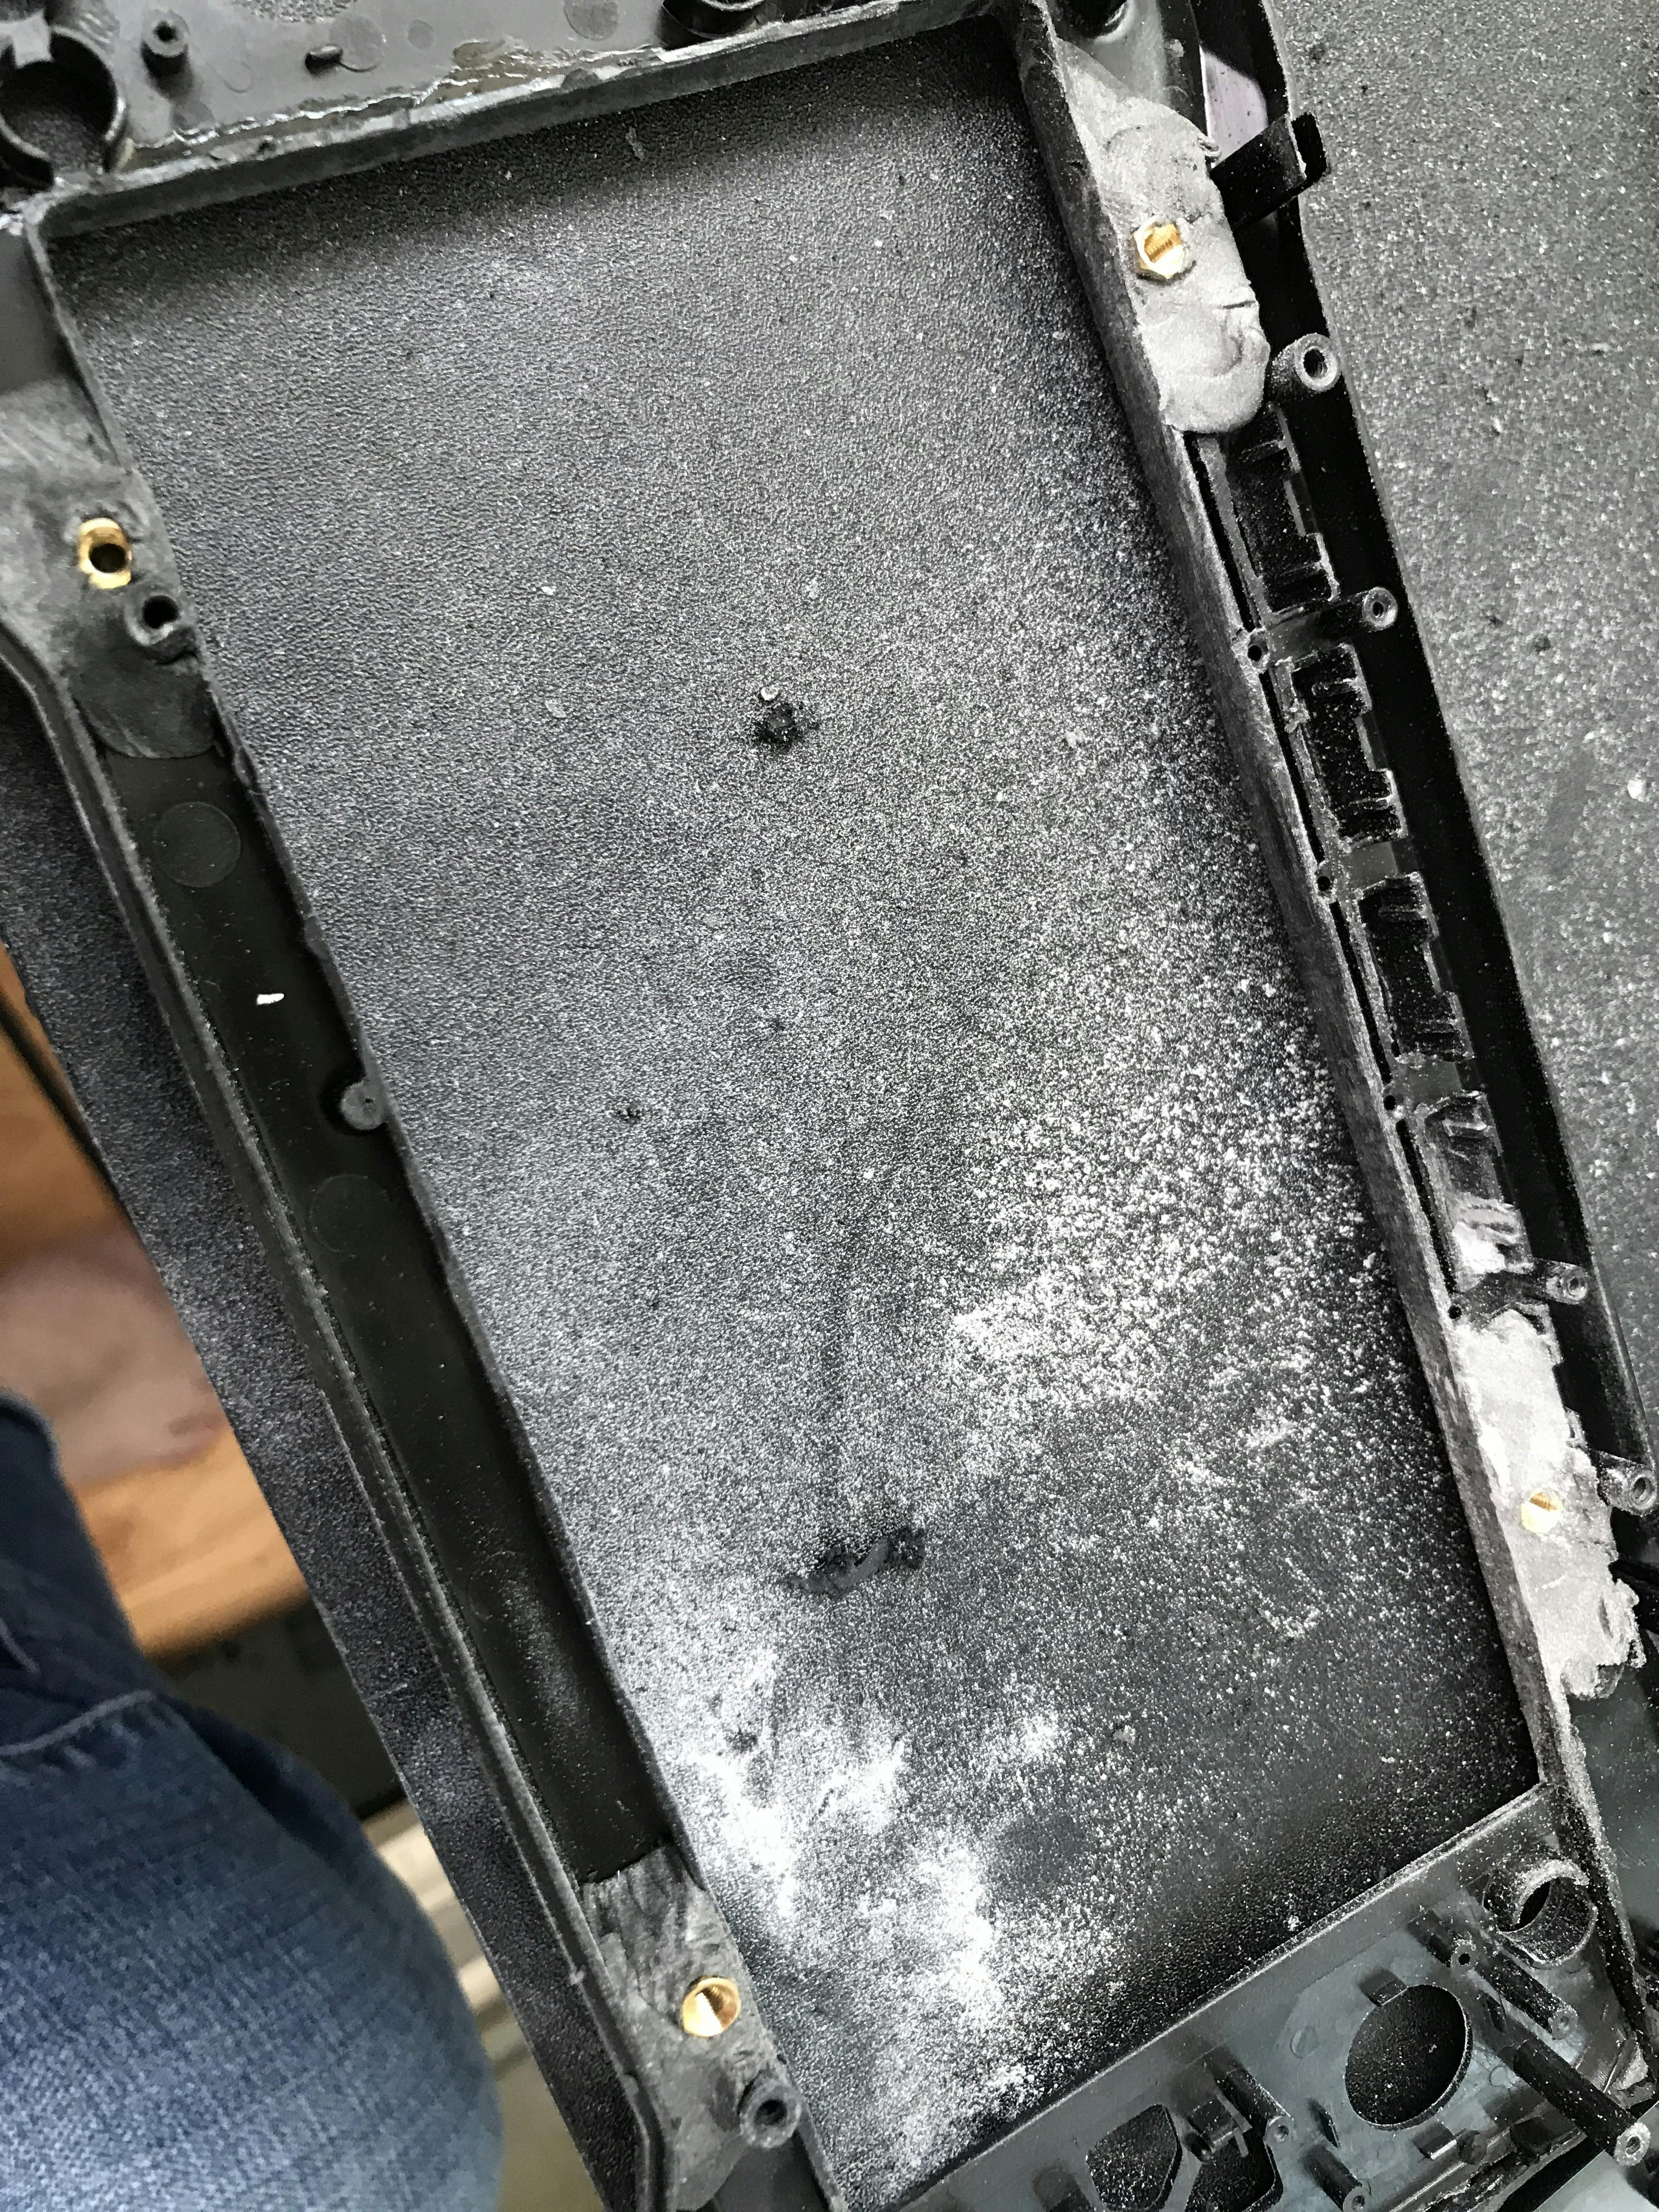
I put a lot of extra putty there because I want this to be pretty permanent, but I do wish I roughed up the sides of the brass mounting nuts before I did it. Whoops! Fingers crossed it doesn't come out :| lol
It was always my plan to reuse the keyboard's existing shoulder buttons, but obviously the controller I chose doesn't just line up with the buttons, so now begins the work of soldering wires to buttons so I can reuse those buttons. I should also think about how the L2 and R2 buttons can be mounted. I'll probably reuse the controller's triggers.
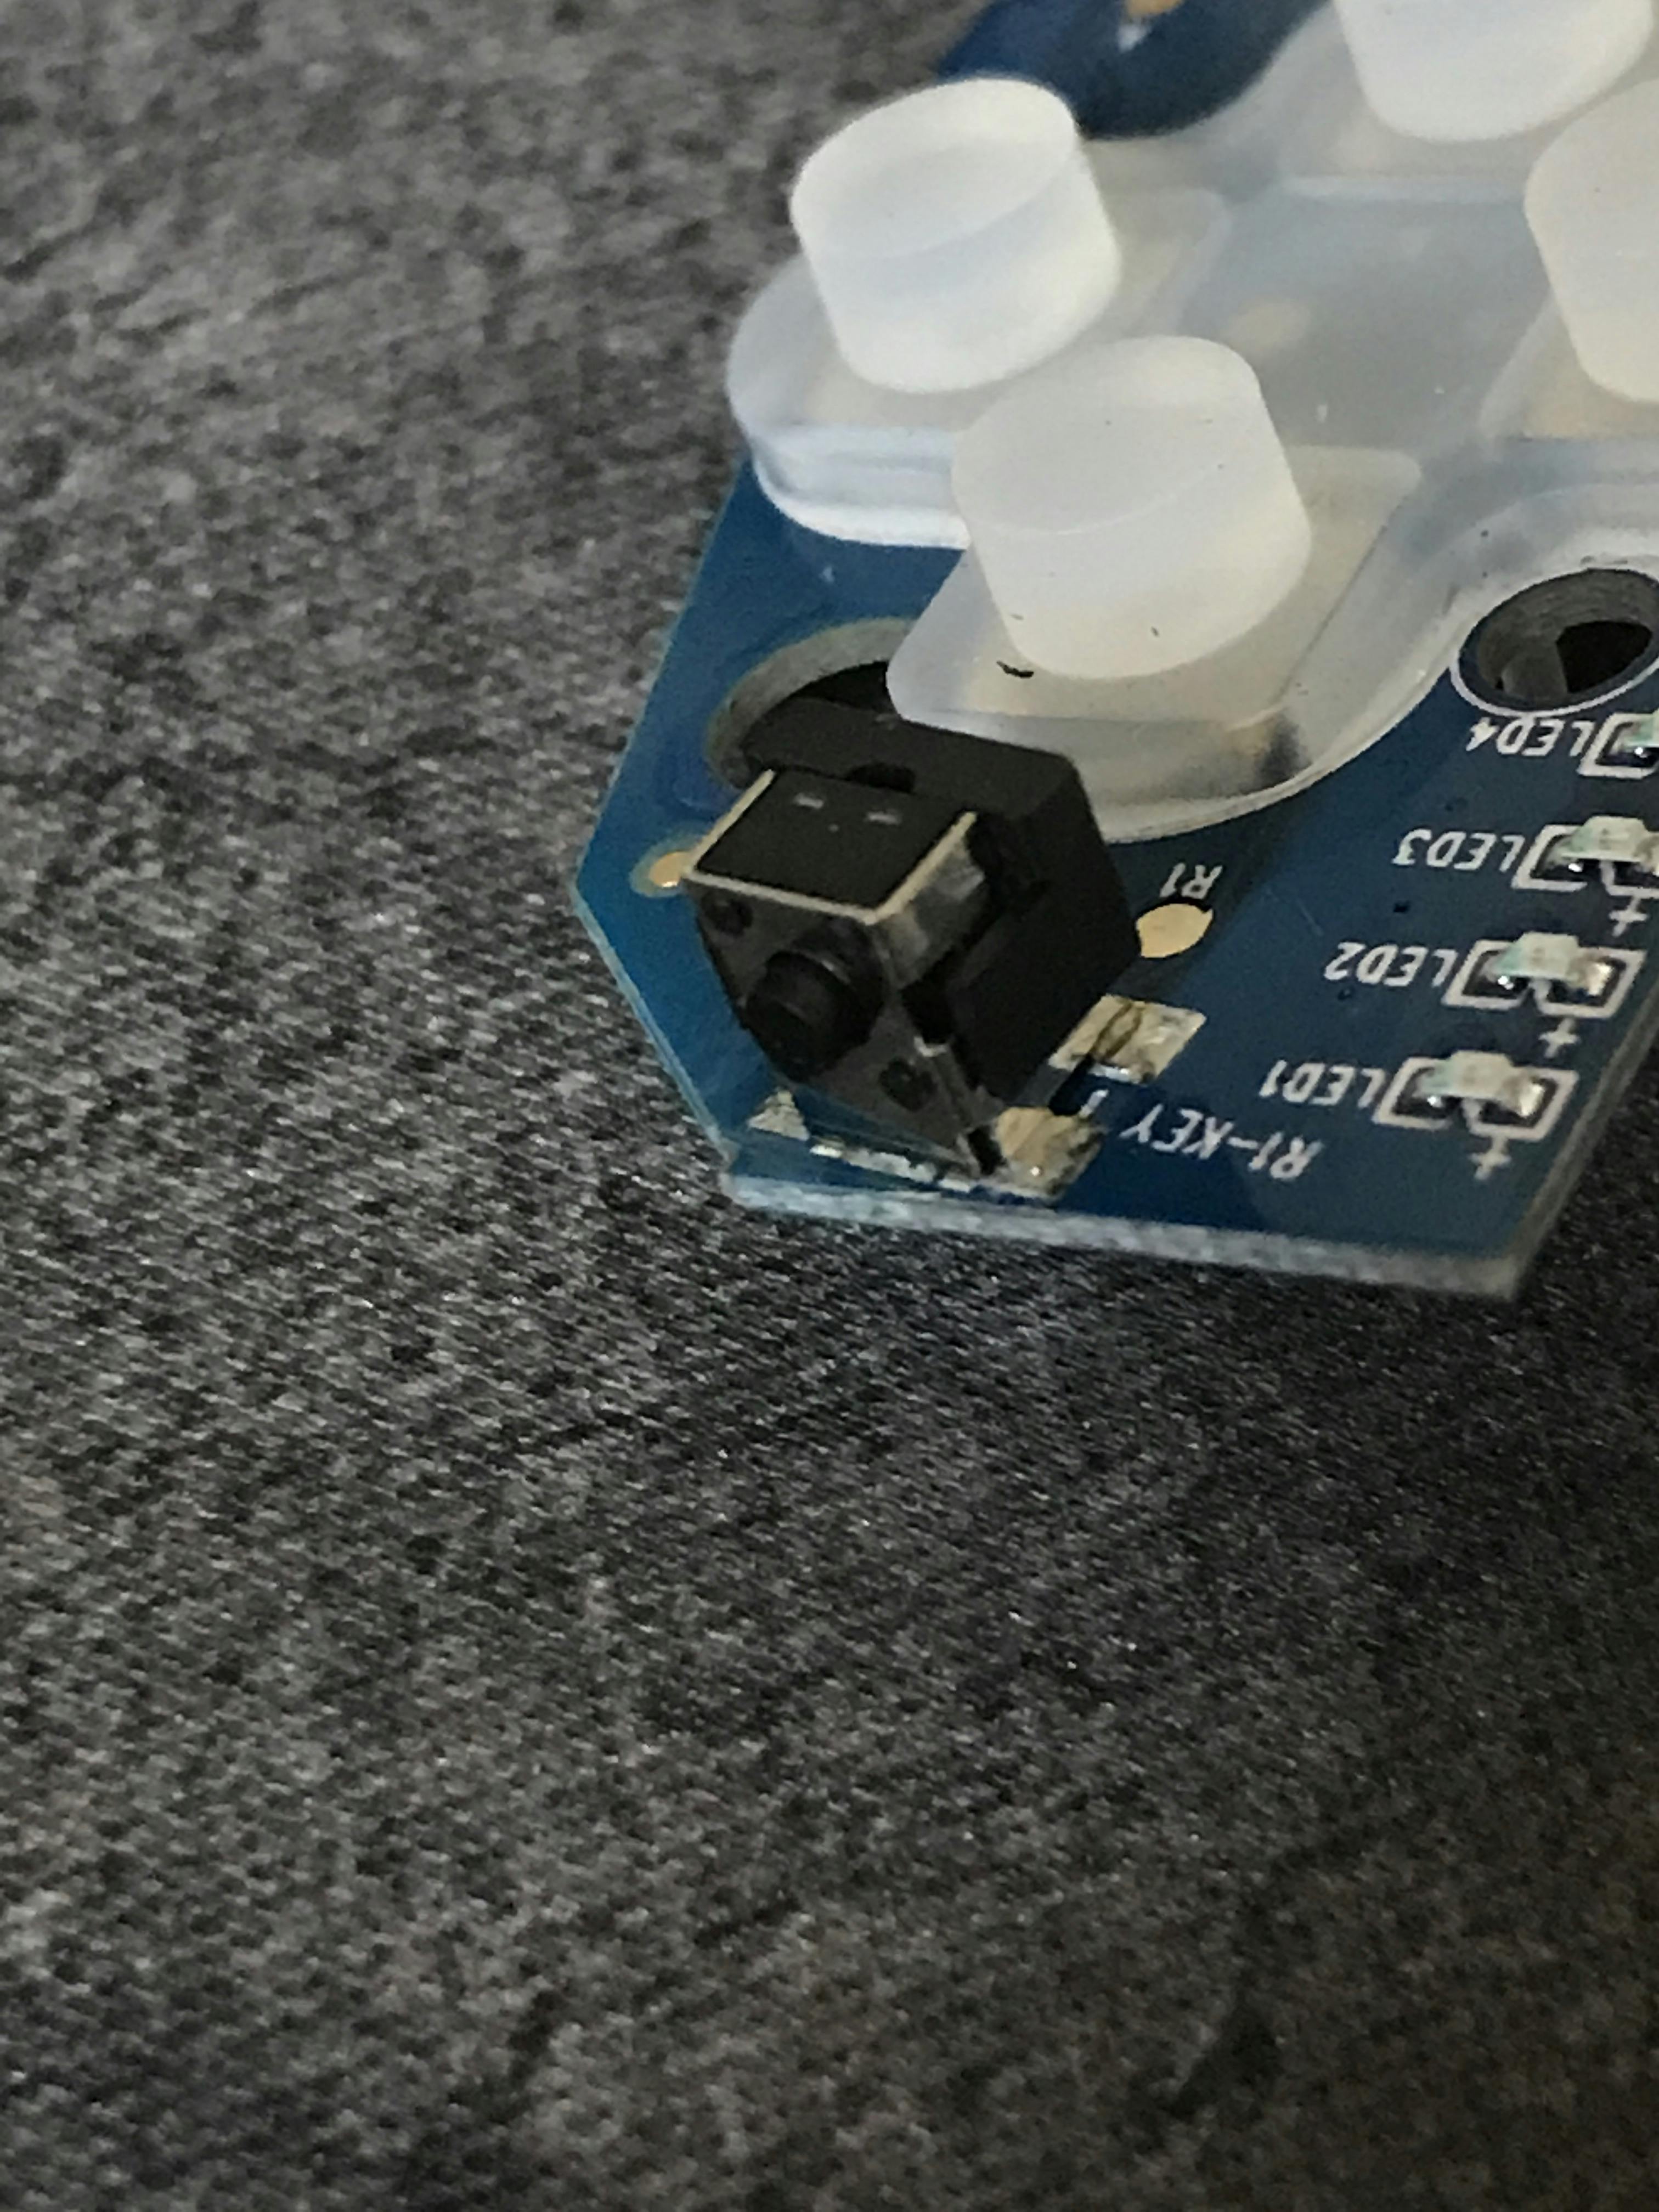
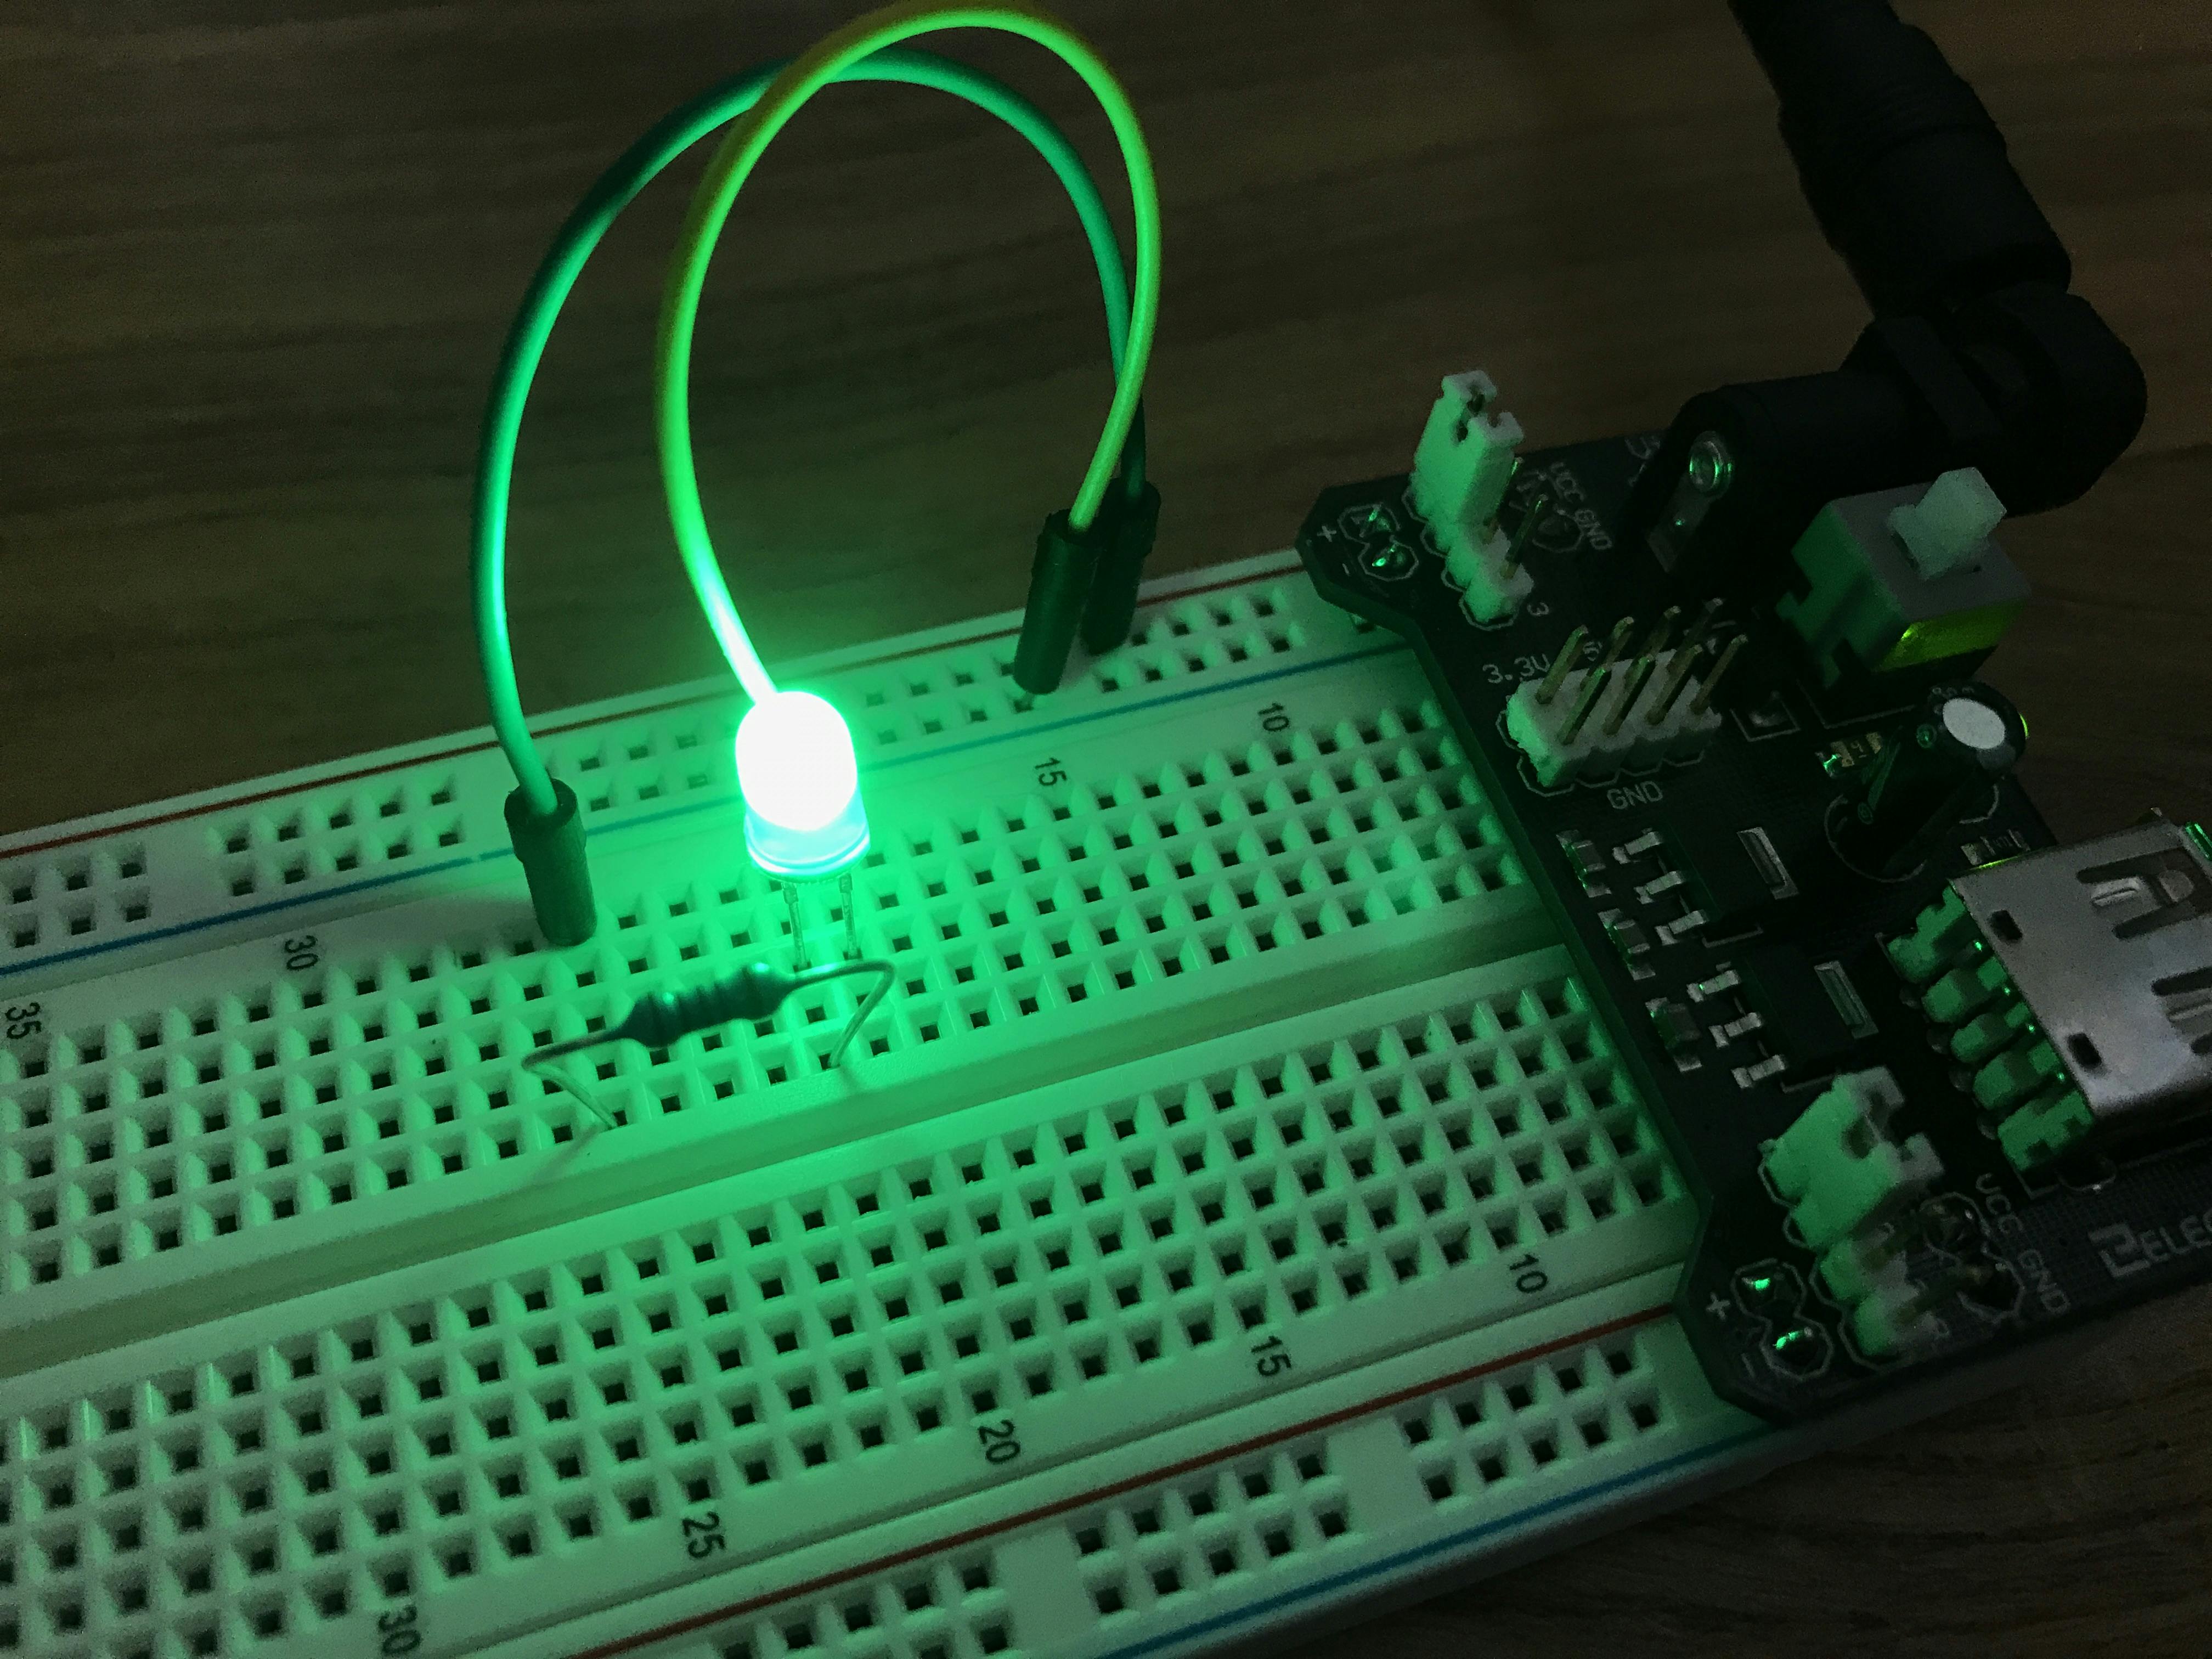
Whilst I wait for finer solder to arrive so I can solder the fine wires onto the buttons and pads accurately, I've been brushing up on my electronics work, and also trying to sort out the SD card, and thinking about how I will power things.
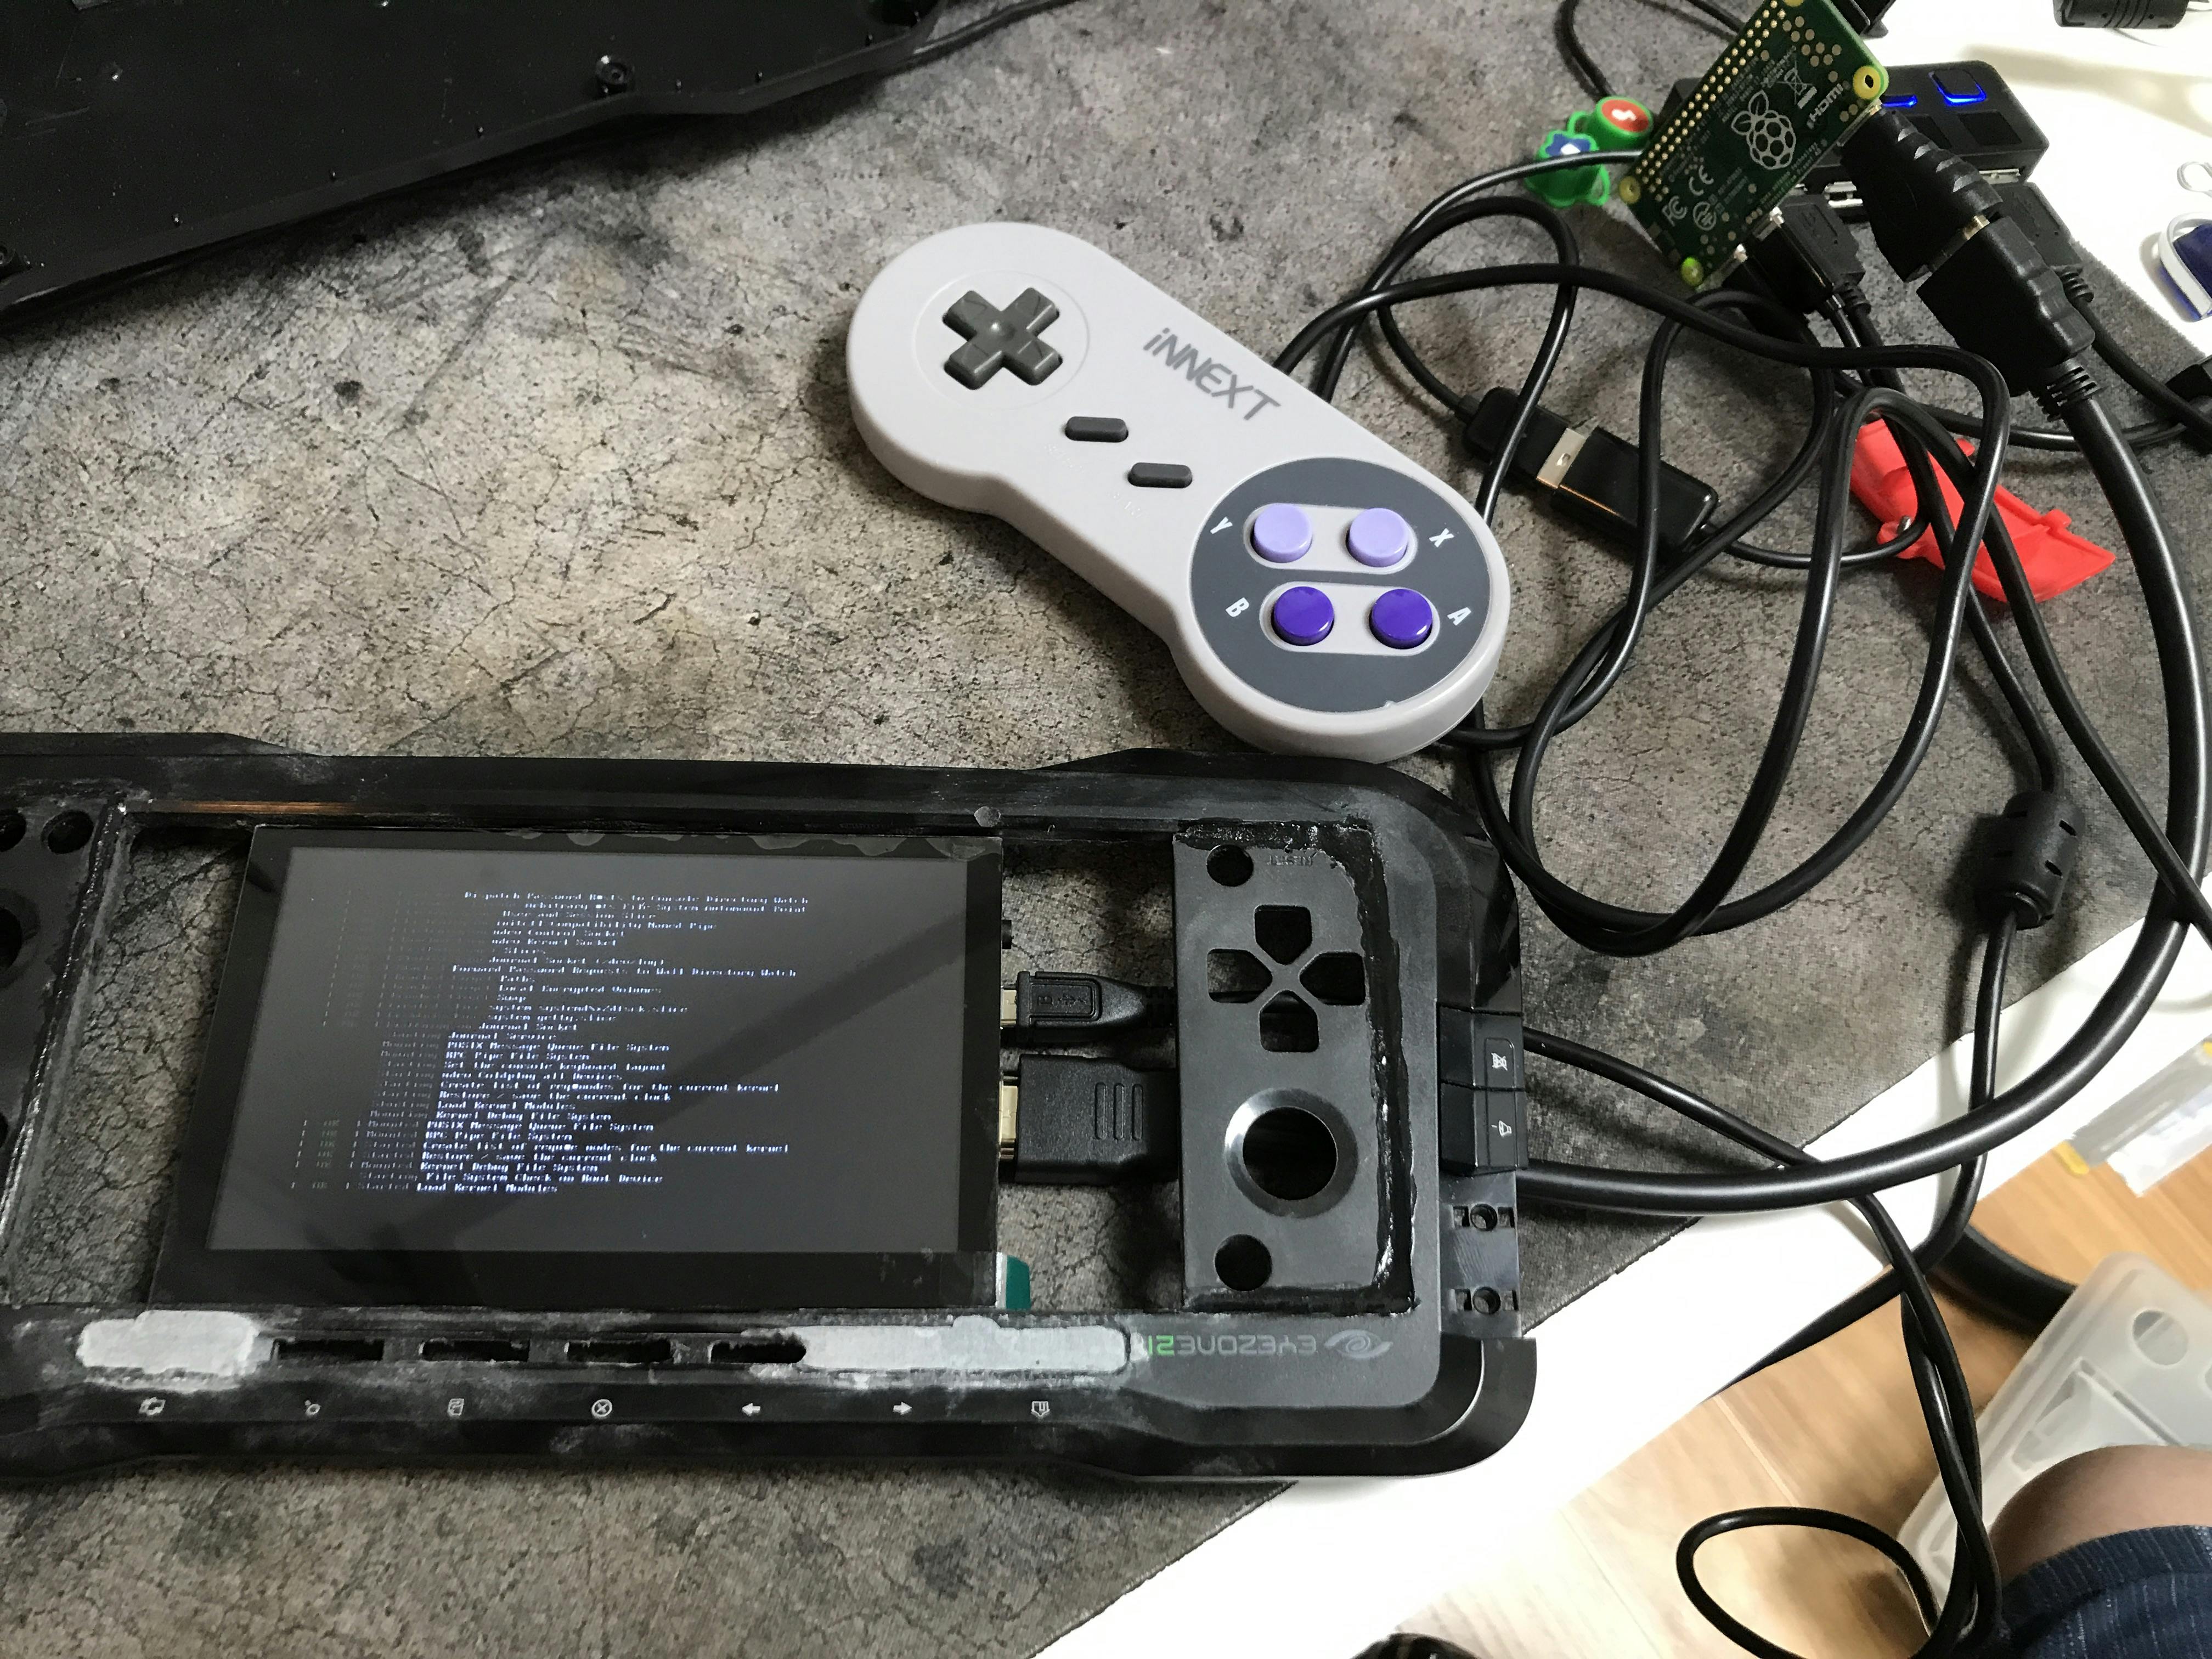
The, er, screen is upside down there, oops.
I've got a USB hub there with buttons. I'm planning to remove the casing of that and strip it back so that it works purely as a power hub. However I do intend to keep two of the USB ports so that I can attach external controllers! Another USB port there can be connected to the power supply of the controller. That means one of the buttons can also toggle the power to the controller so that it can be turned off when the external controllers are connected.
The next job will be to handle these soldering tasks and start fitting it all inside the case.